
Projector Photography: 5 Pro Tips for Creative Portraits + Behind the Scenes
Projector photography is one of the easiest ways to transform an ordinary portrait into something visually striking. By combining projected light with creative lighting techniques, you can create unique studio images that would be difficult to achieve with traditional lighting alone.
Over the years, projector photography has become one of my favourite techniques to experiment with in the studio. During the latest edition of my Experiments in Light | Colour | Form workshop series in Tokyo, we explored how to combine projection, RGB lighting, and simple props to create cinematic portraits.
In this guide I'll share the exact setup, five practical tips, behind-the-scenes footage, and the final results so you can recreate a similar shoot yourself.
Lighting Breakdown + Gear I Used
BenQ HT1075
grey backdrop
RGB lights
fake flowers
white dress
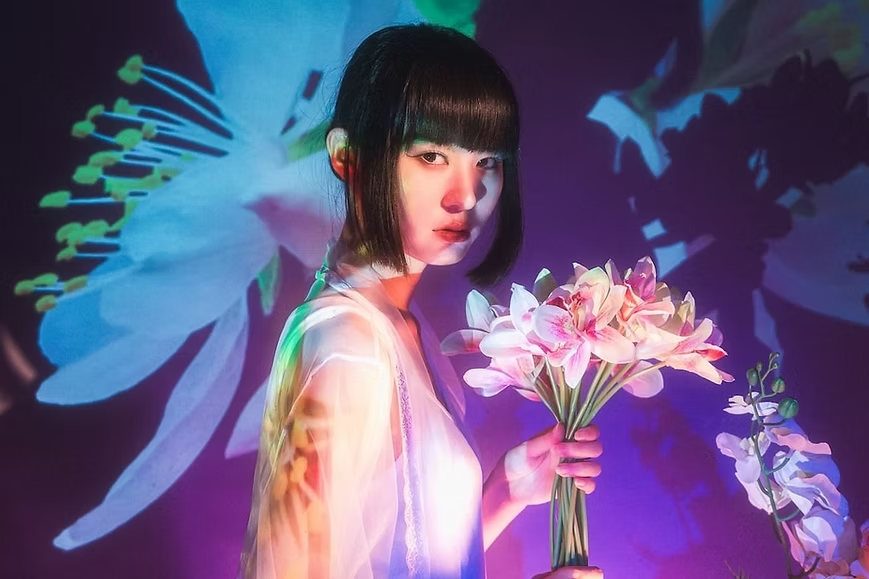
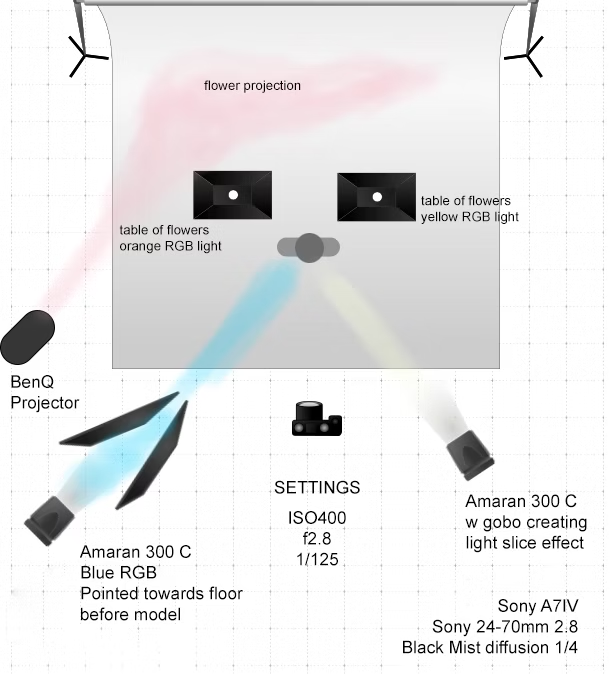
I drew up a simple graph to give an overhead view of the set. You can use any lights you have but a strong enough projector is recommended. I use a pretty old BenQ HT1075 which has a lumens rating of 2200 so anything around this or higher is going to make your projections really stand out. Also, the color of backdrop is going to play a big part so stick with white or grey. For projector photography, white backdrops generally offer better image clarity and brightness, especially with higher-lumen projectors. However, grey backdrops can be advantageous in rooms with ambient light, helping to maintain black levels and reduce glare. As we were using other light sources in combination with the projector I think grey was going to really help keep good contrast in the image but play around with both and see which one works best for your space and the brightness of your projector.
Top 5 Pro Tips for Using a Projector in your Photography
For anyone who wants to give it a try on their own I’ll add my top 5 tips for projector photography below. But of course if you’re in Tokyo and want to practice on a model in a studio setting with me feel free to take a look at my Studio Photography Workshop with Model page for more information.
1. Optimize Your Projector Brightness and Contrast for Camera Capture
Why it matters: Projectors are designed for human eyes, not cameras. If not tuned properly, the image can look washed out, overly dim, or lose detail in highlights and shadows.
Pro Tip:
Manually adjust the projector’s brightness, contrast, and sharpness settings—don’t rely on factory defaults.
Lower contrast slightly to preserve detail in both the highlights and shadows, which helps your camera capture the full tonal range.
Avoid dynamic contrast or automatic brightness modes, which can shift exposure unpredictably mid-shoot.
If your projector has a “presentation” or “cinema” mode, start there, then fine-tune to reduce clipping and retain color depth.
Use your camera’s histogram or zebras to verify you’re not blowing out highlights or crushing shadows in the projected content.
2. Choose High-Contrast, Clean Graphics and Videos
Why it matters: Complex or low-contrast images can get washed out or appear muddy.
Pro Tip:
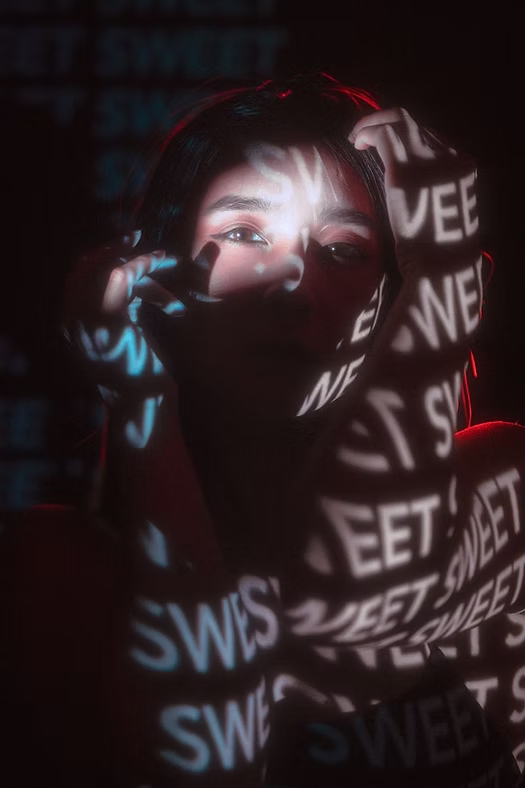
Stick to bold patterns, text, silhouettes, or geometric shapes for the most striking results.
If projecting photography or video, edit the content to boost contrast and clarity before projecting.
Avoid overly detailed visuals unless you want a very subtle texture.
3. Match Shutter Speed to the Projector’s Refresh Rate
Why it matters: Projectors refresh their image dozens of times per second. If your shutter speed doesn’t align well, you can get banding, flicker, or rolling scan lines in your photos.
Pro Tip:
Most projectors refresh at 60Hz (or 50Hz in some regions). To avoid flicker or banding, set your shutter speed to a multiple of the refresh rate, such as 1/60, 1/30, or 1/15 sec.
Avoid fast shutter speeds like 1/250 or higher, as they can catch only part of the projected frame during its refresh cycle.
If you're still seeing bands, try slightly adjusting the shutter speed or switching the projector to a different refresh rate (if the model allows).
Use a tripod to keep your camera stable at slower shutter speeds while maintaining sharpness.
4. Lock in Manual Settings
Why it matters: Camera auto modes can get confused by projection light, leading to exposure or white balance issues.
Pro Tip:
Shoot in manual mode for shutter speed, aperture, ISO, and white balance.
Use custom white balance if the projection has a strong color cast (or embrace it for a surreal look).
Shoot in RAW to allow color correction and exposure tweaks later.
5. Blend with Traditional Lighting for Control
Why it matters: Projectors alone can lack the dimension that strobes or continuous lights offer.
Pro Tip:
Add a fill light, rim light, or bounce card to enhance skin tones or highlight facial features without overpowering the projection.
Use gels or diffused lighting to complement the color scheme of the projected image.
Balance carefully—too much light kills the projection, but too little makes the model disappear.
Creating the Floral Portrait Concept
In this session, I aimed to explore a theme centered on flowers, which symbolize beauty, growth, and the ephemeral nature of life. They are consistently visually captivating. To realize this concept, I selected a lovely white summer dress online for the model. This choice was deliberate, as I wanted to evoke a sense of innocence and purity, creating a striking contrast with the darker, more mysterious lighting I had planned for the shoot. The interplay between the dress's lightness and the shadows produced by the lighting amplifies the emotional impact of the images. Additionally, the white dress would "glow" and absorb more color from the lights and projector.
Behind the scenes of a creative projector portrait photography workshop in Tokyo.
Some Behind the Scenes from the day of the photo shoot with our wonderful model Ran
Utilizing Props for a Harmonious Balance
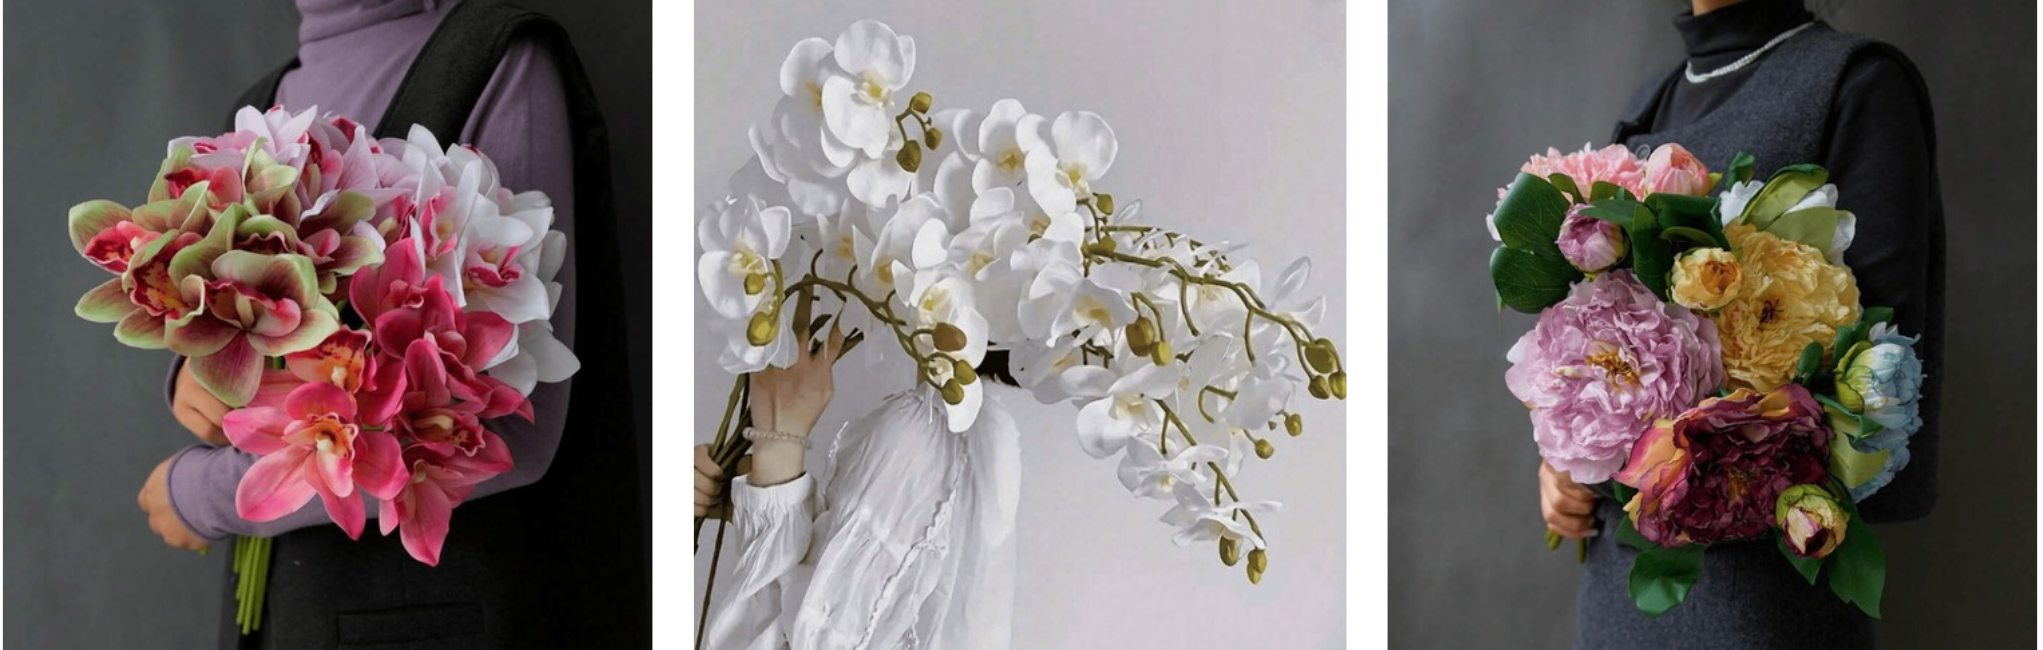
These can find these easily on places like Shein.com
It was essential for me to use the projector in a way that complemented the set without overshadowing the scene. That means using a projector alone was not going to cut it. So online shopping I went and bought even more fake flowers, adding to my ever-growing collection I already own. Fake flowers are incredibly versatile; they can serve as props during a photoshoot and double as decor in various spaces when not in use. Way easier to handle (and much less expensive) than getting the real thing and they look more than convincing enough.
Enhancing the Experience with Dynamic Projections
Of course, any good projector-themed photography session requires high-quality projection material to truly bring the concept to life. I searched and found a stunning 4K, one-hour-long video of blooming flowers which I opted for over a static image. I went with video as it ensured that every shot captured during the session would be unique, with dynamic movement adding an extra layer of interest to the photographs. The video features a variety of flowers, each isolated against a deep black background, allowing their vivid colors to pop and draw the viewer's attention. The gradual blooming of the flowers creates a sense of anticipation and wonder, and as we had four other participants in the workshop it also made all of our work a bit more unique. The video I used is embedded below for reference so feel free to use it or something similar.
Blooming flower projection used as the projected background for creative portrait photography.
This is essentially what I started to sketch out in the studio with my lovely head model, Molly. You might notice that in the bundles of fake flowers on the right and left of the model I used a small RGB light in each one to make them pop and glow.
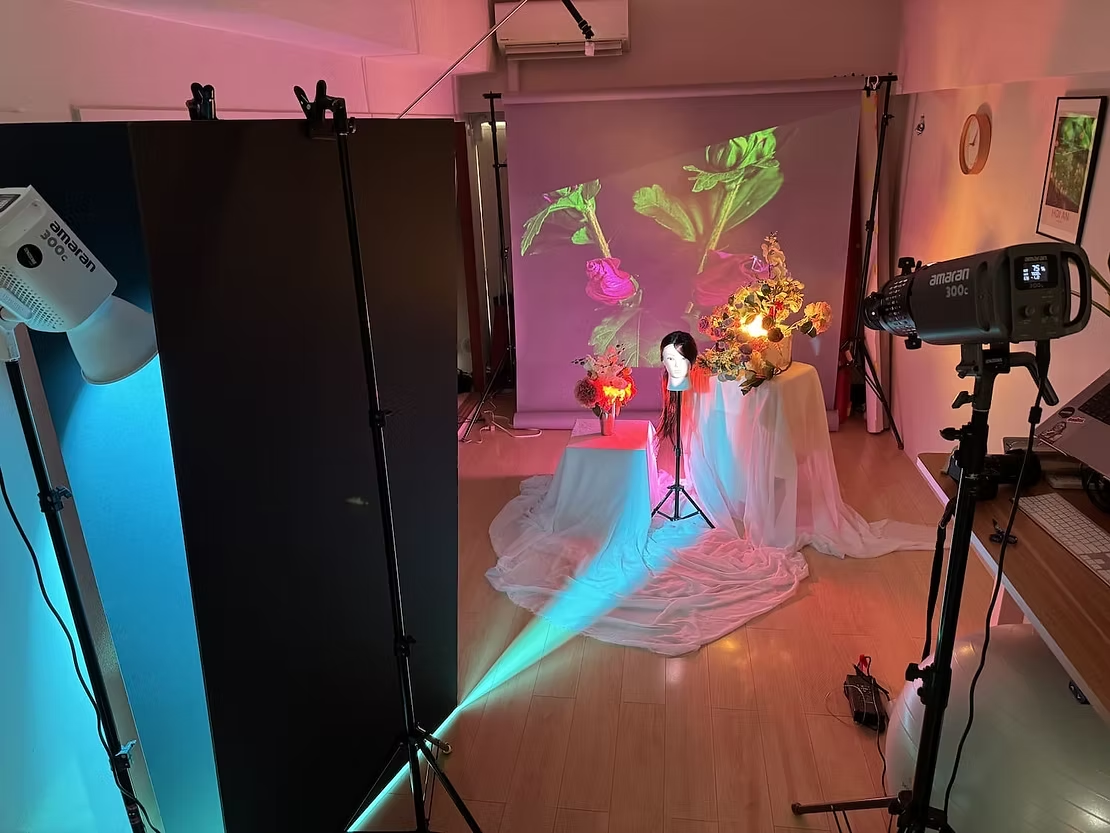
Behind-the-scenes view of a projector photography lighting setup in the studio.
Final Projector Photography Results
And finally, let's take a look at a few shots from the session. I love how dreamy and ethereal they came out especially after some post-editing work. What do you think? Leave me a comment below!
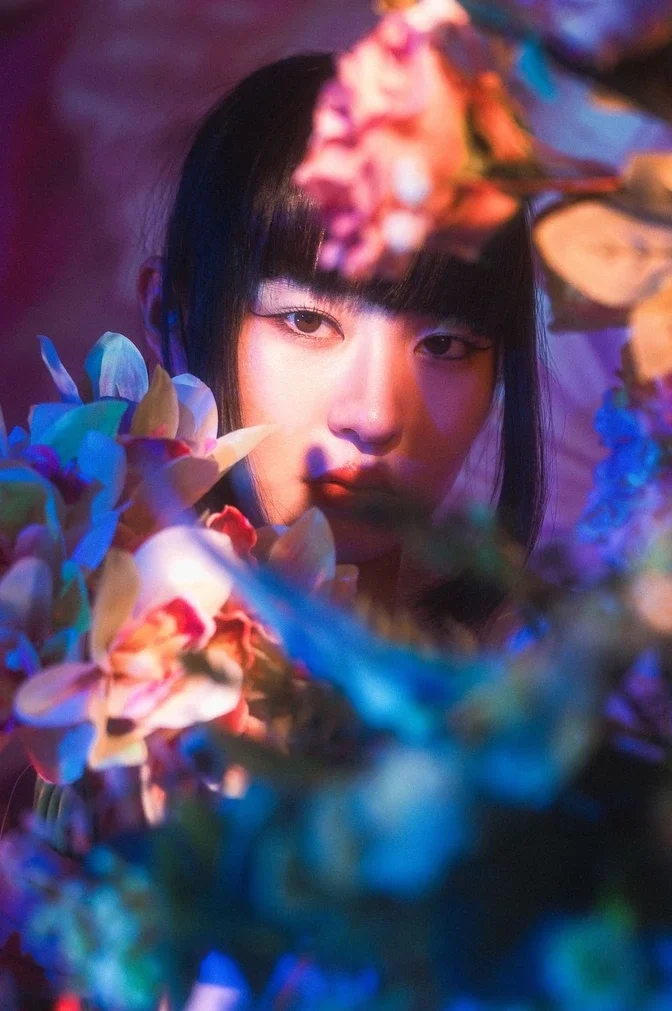
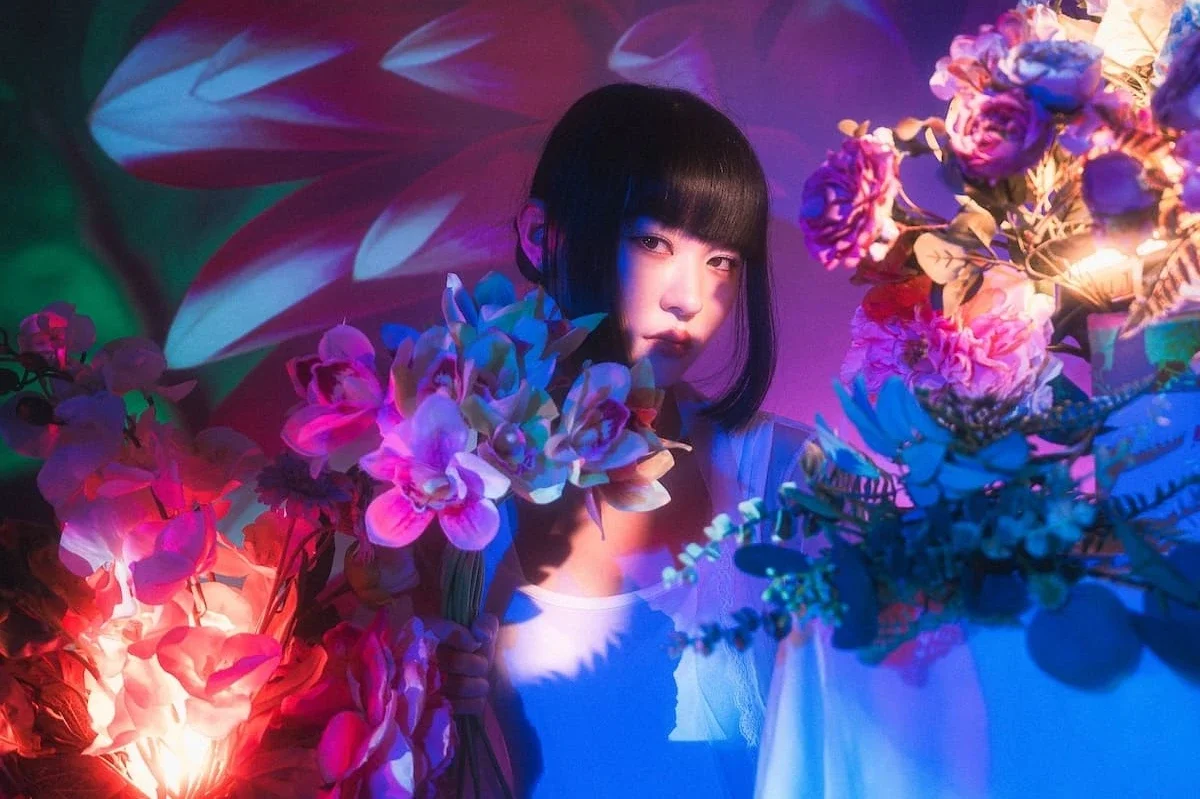
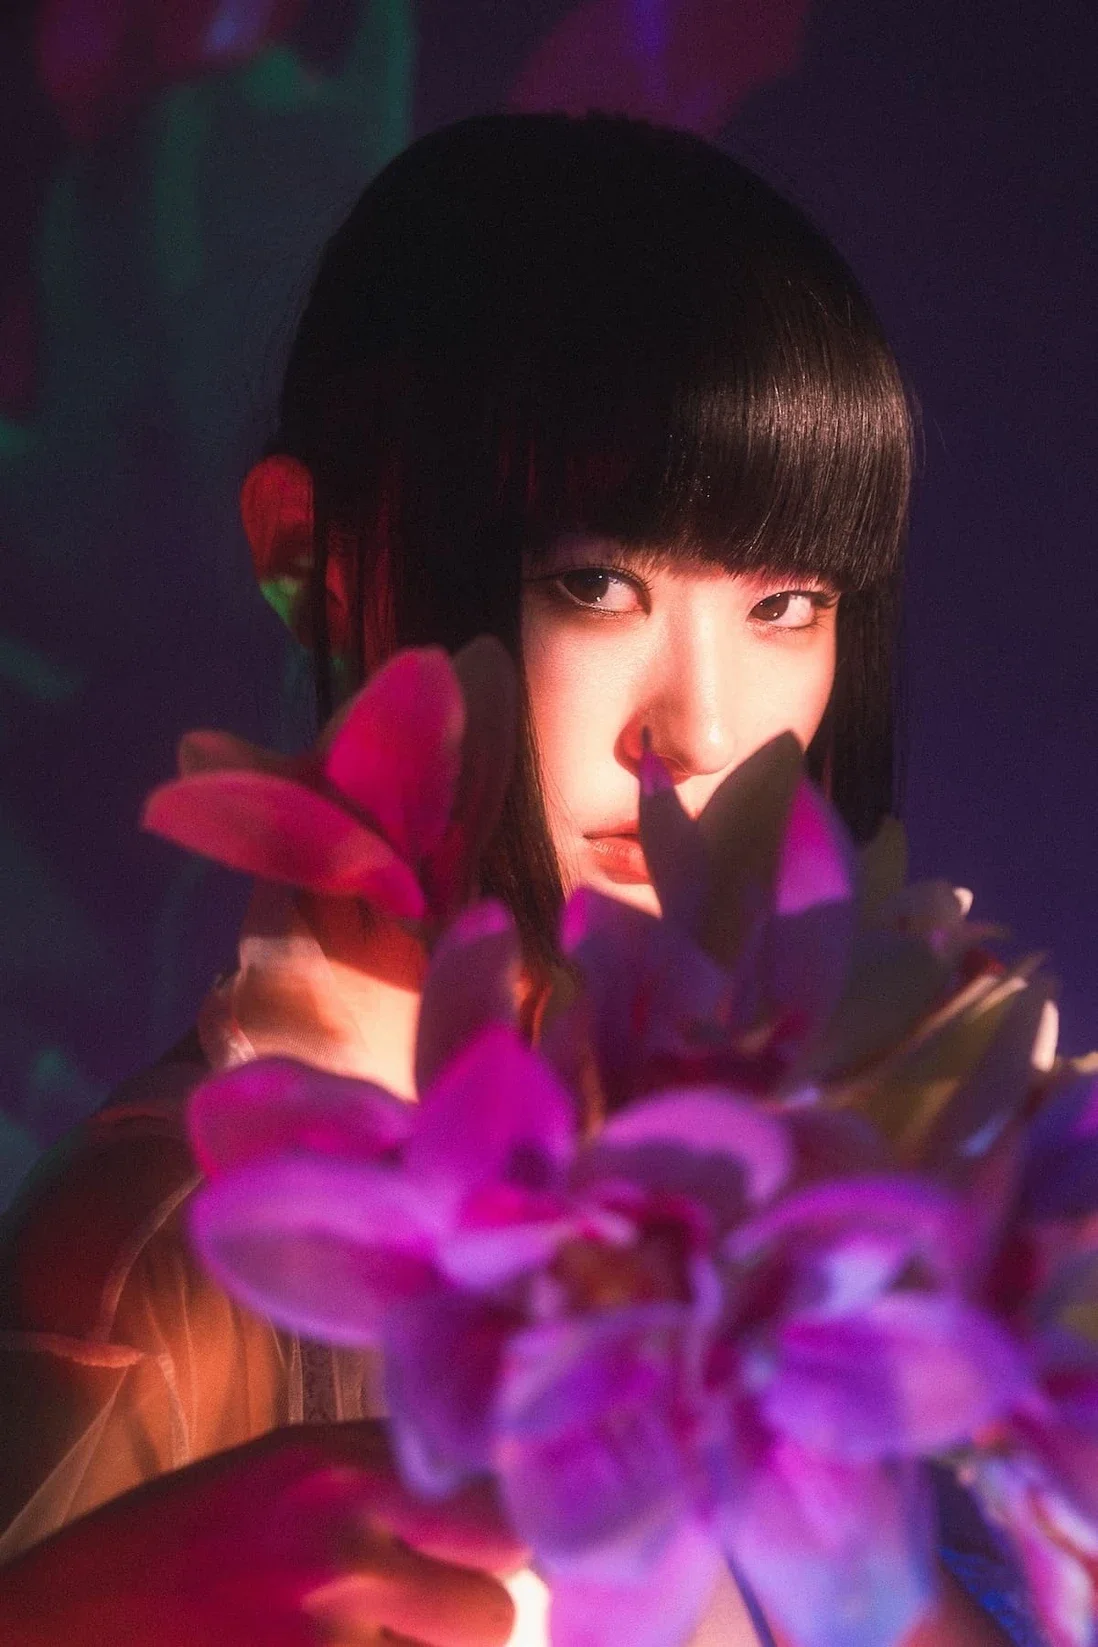
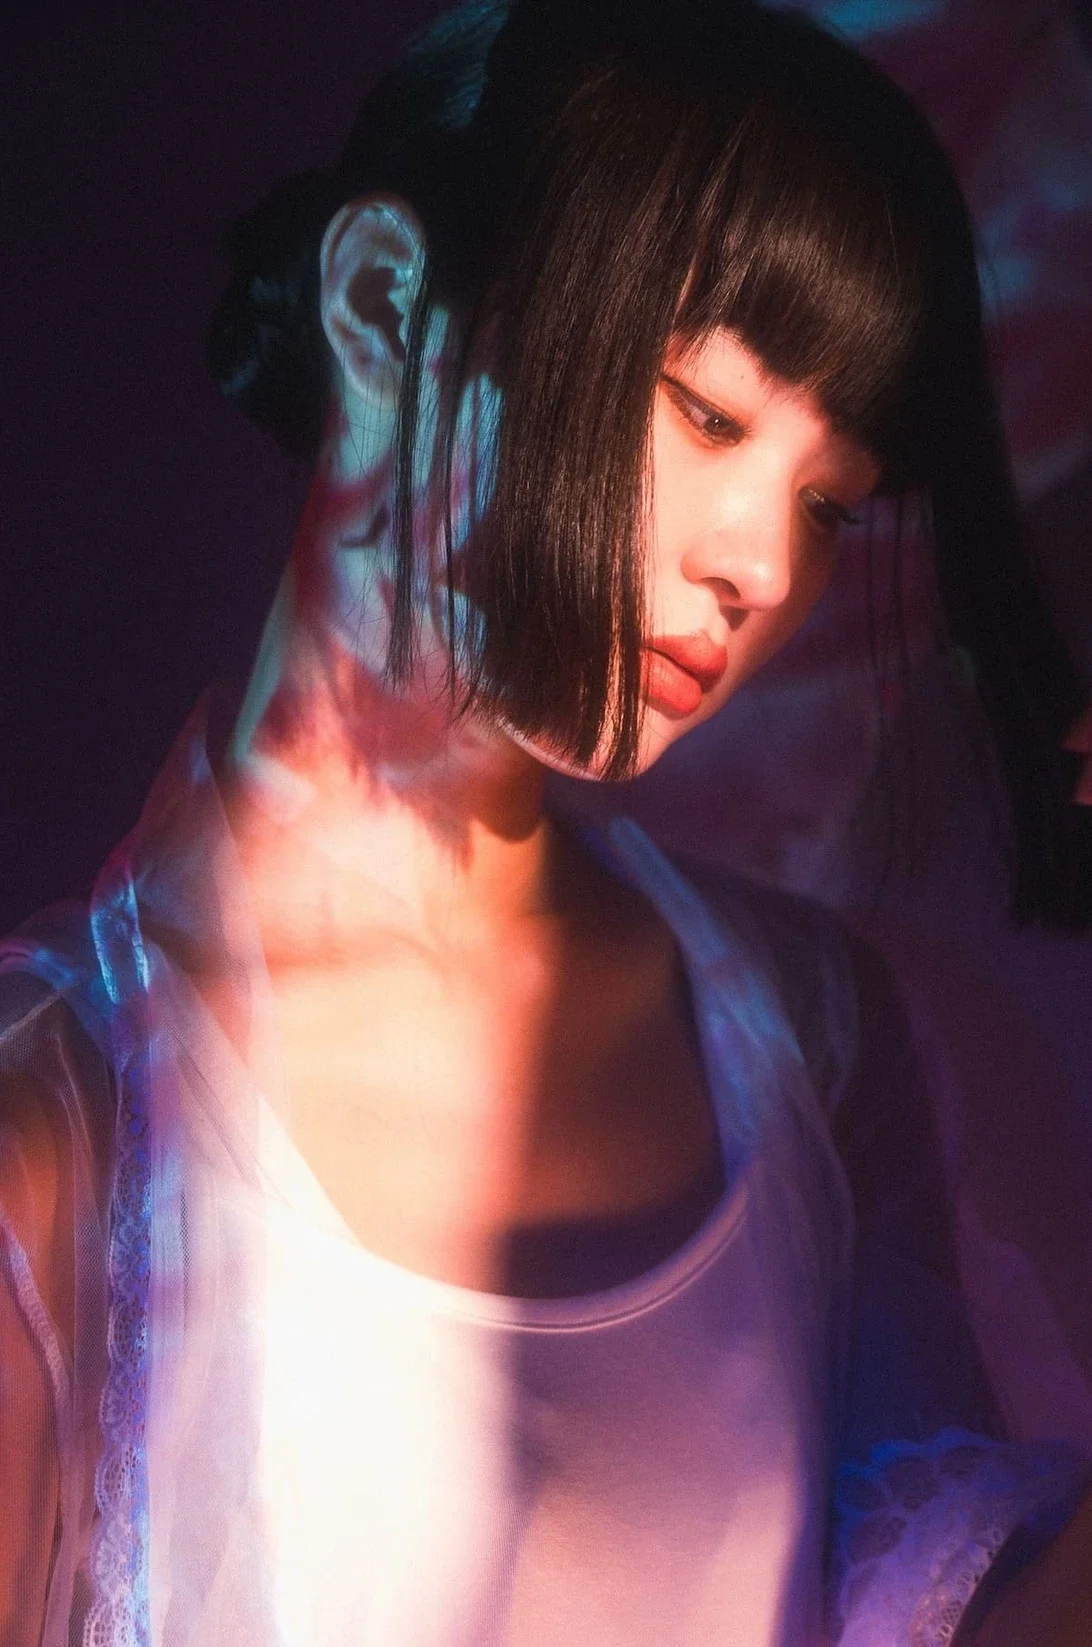
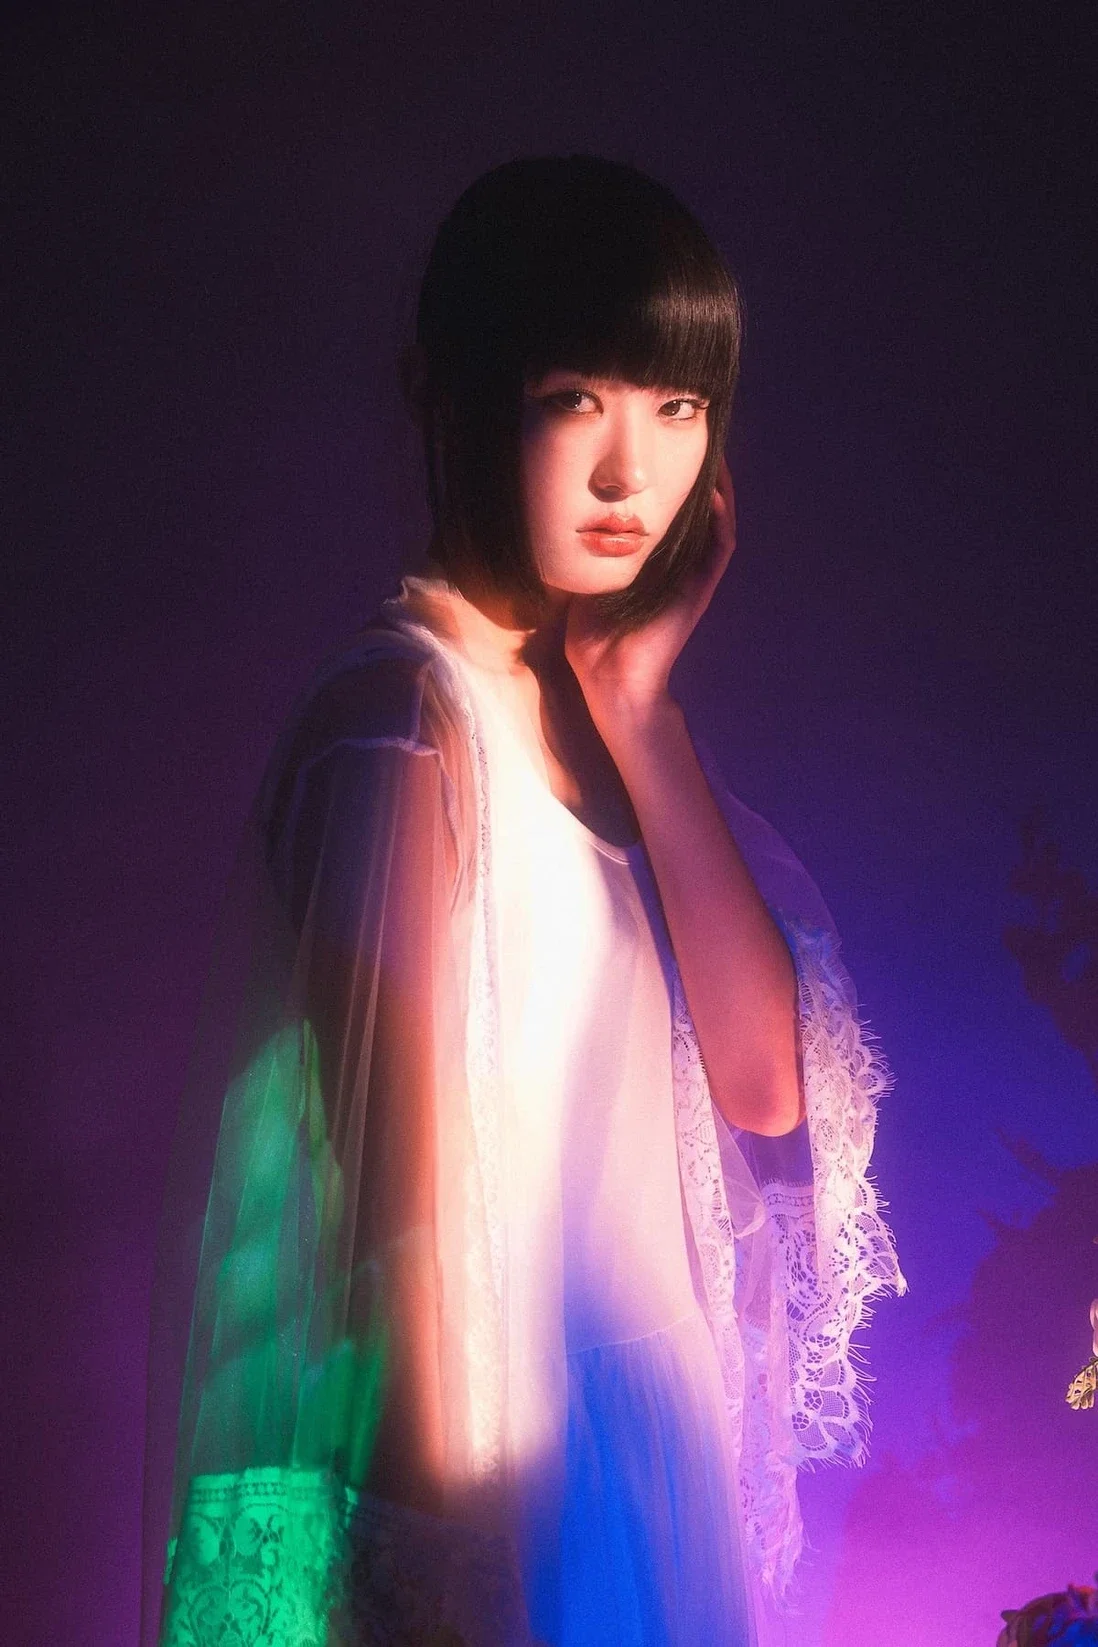
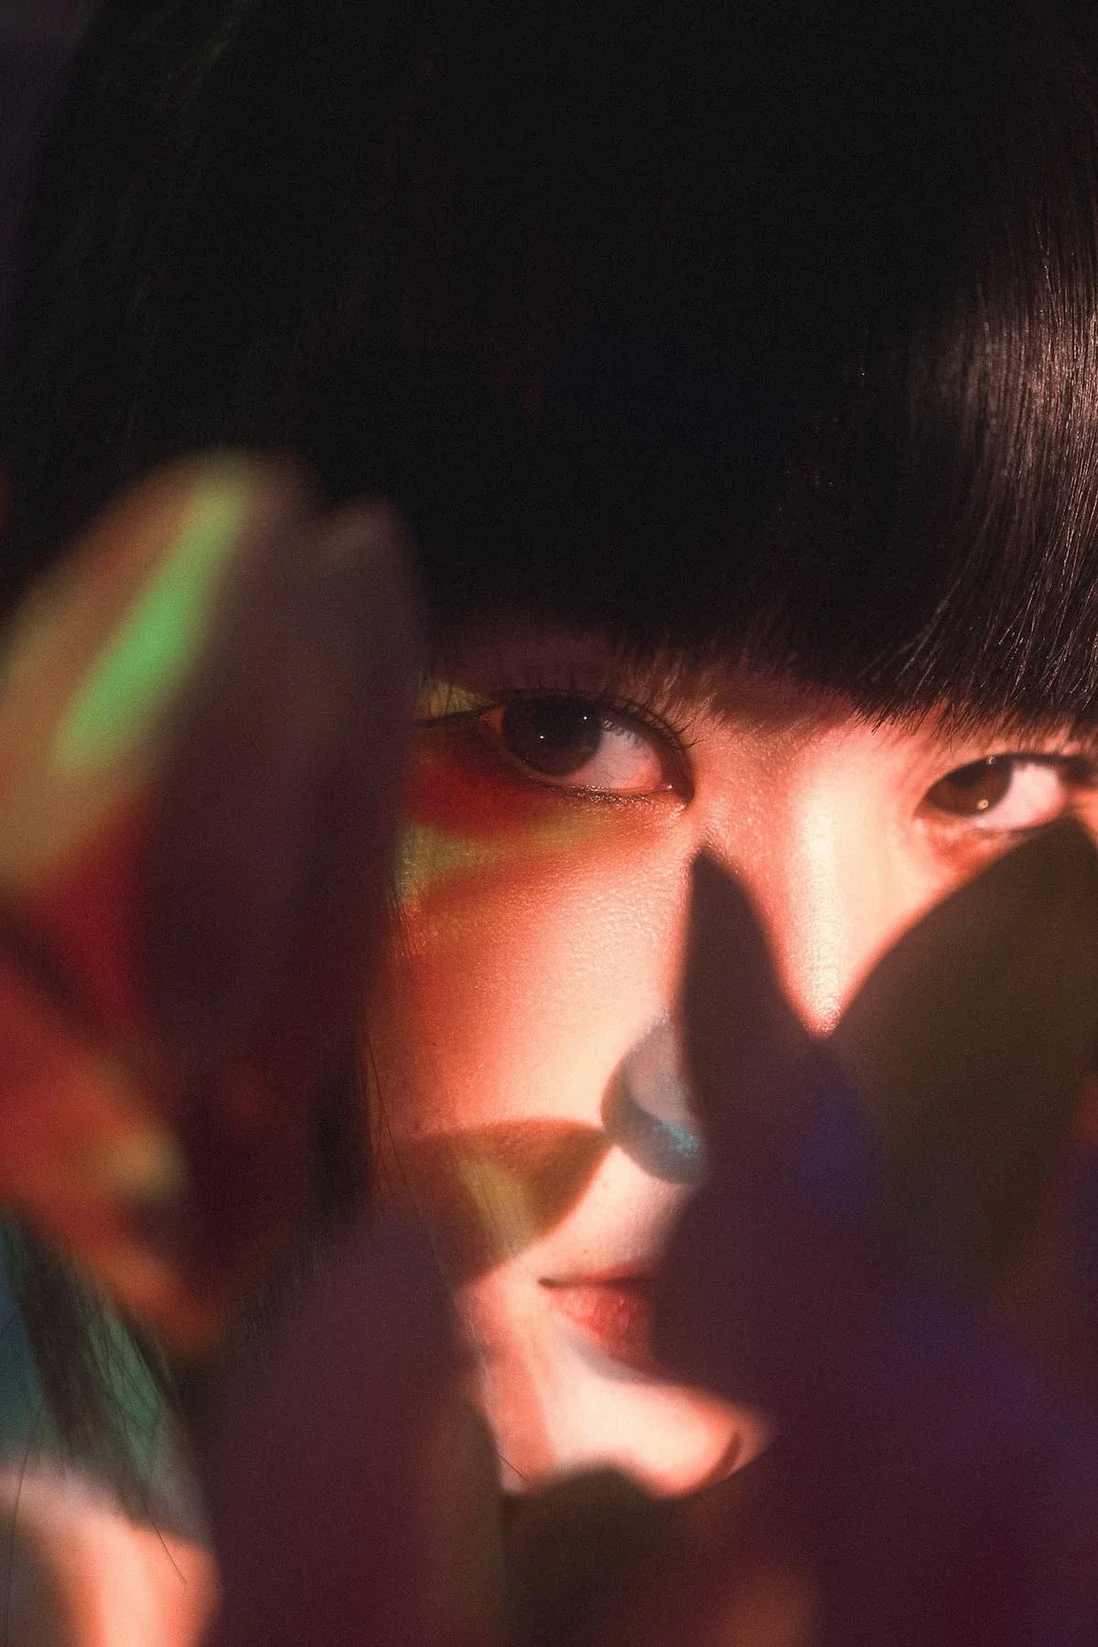
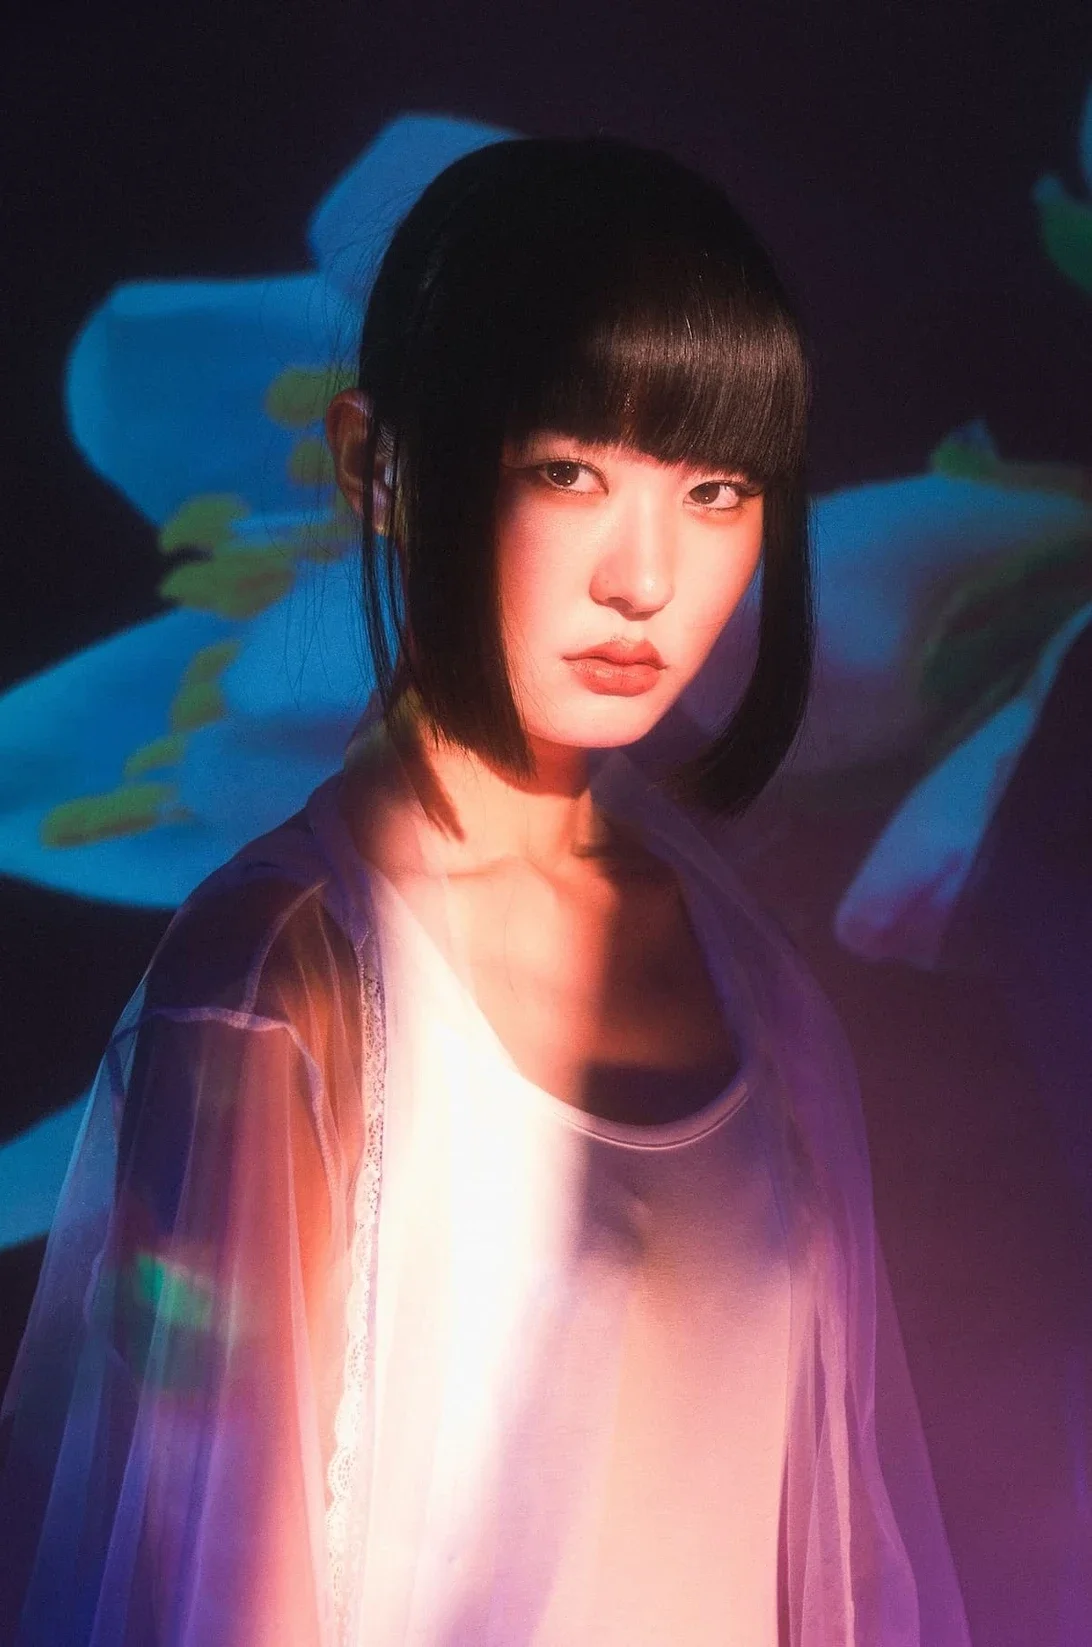
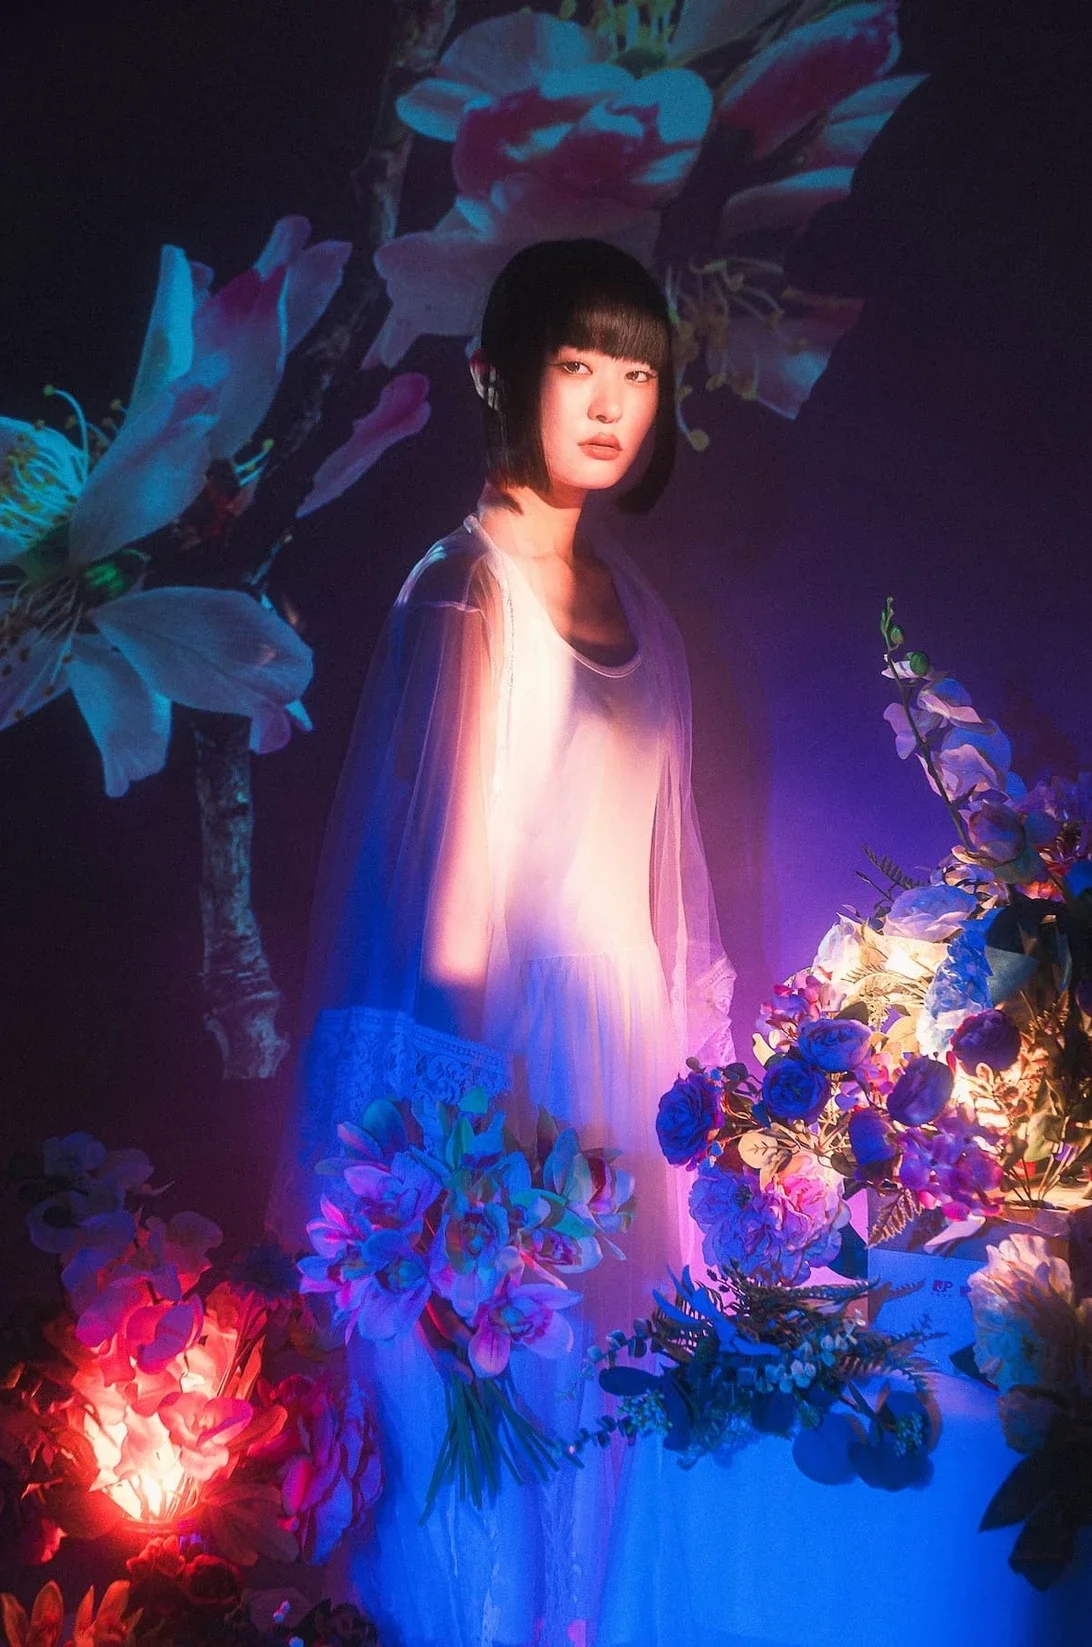
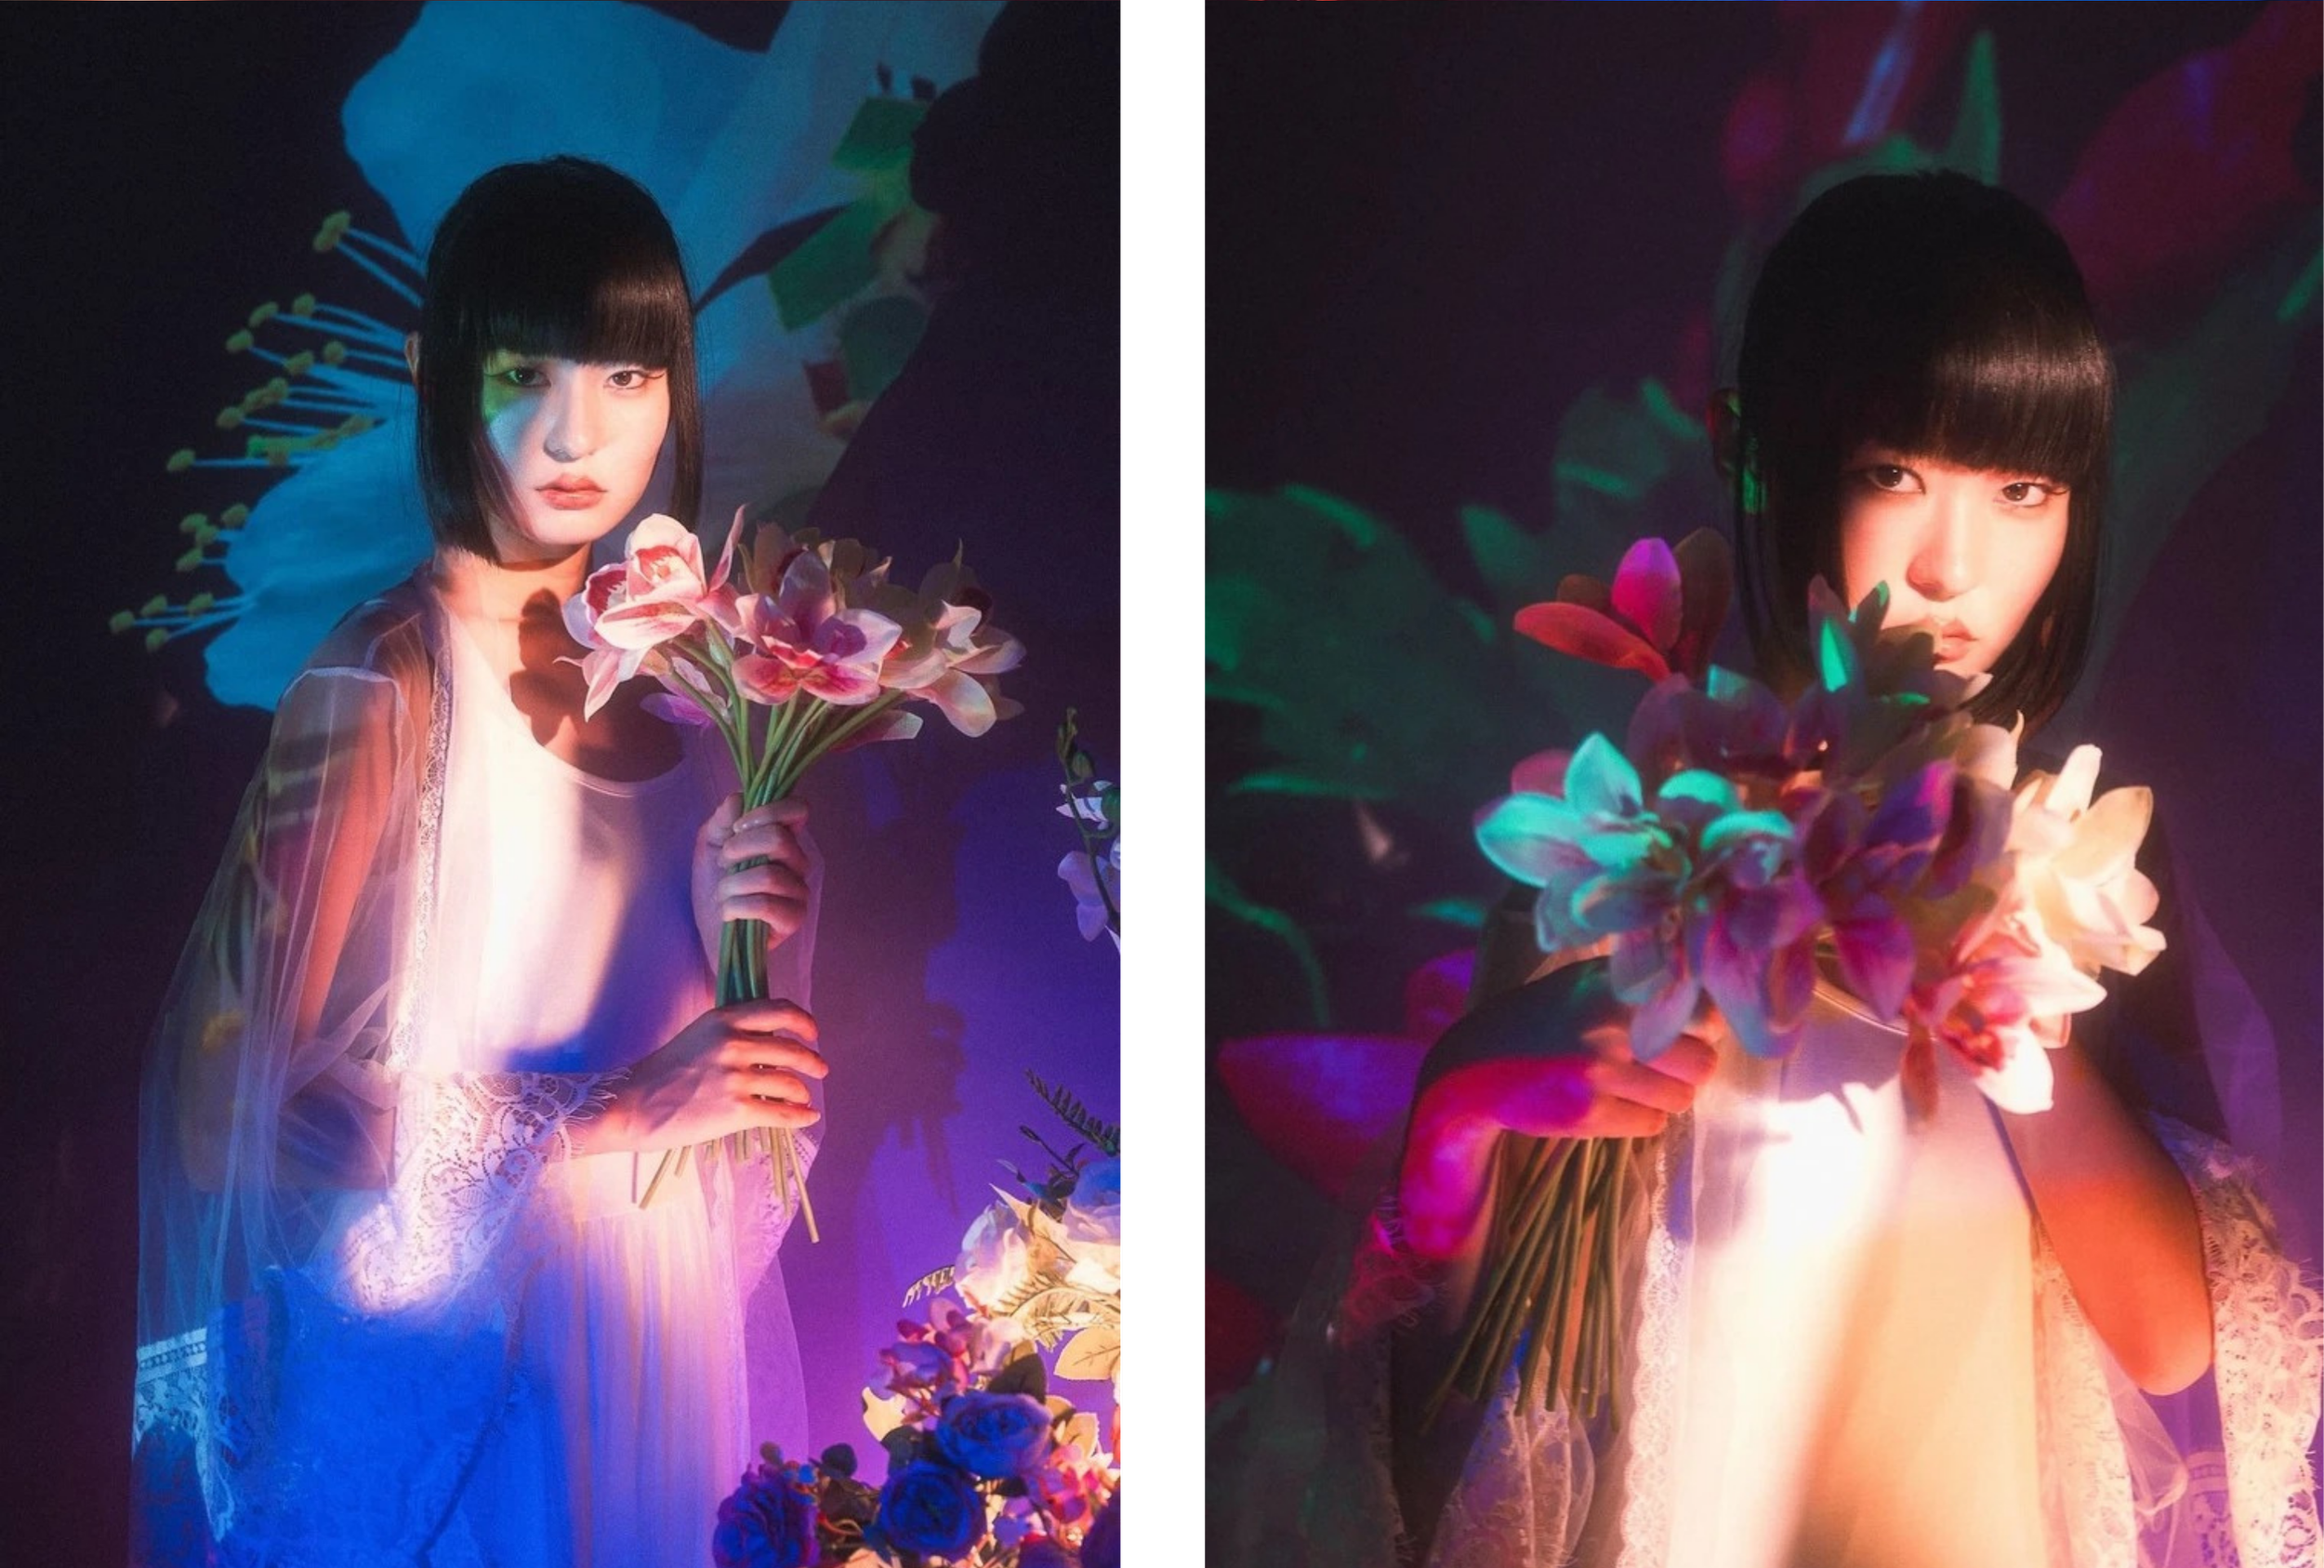
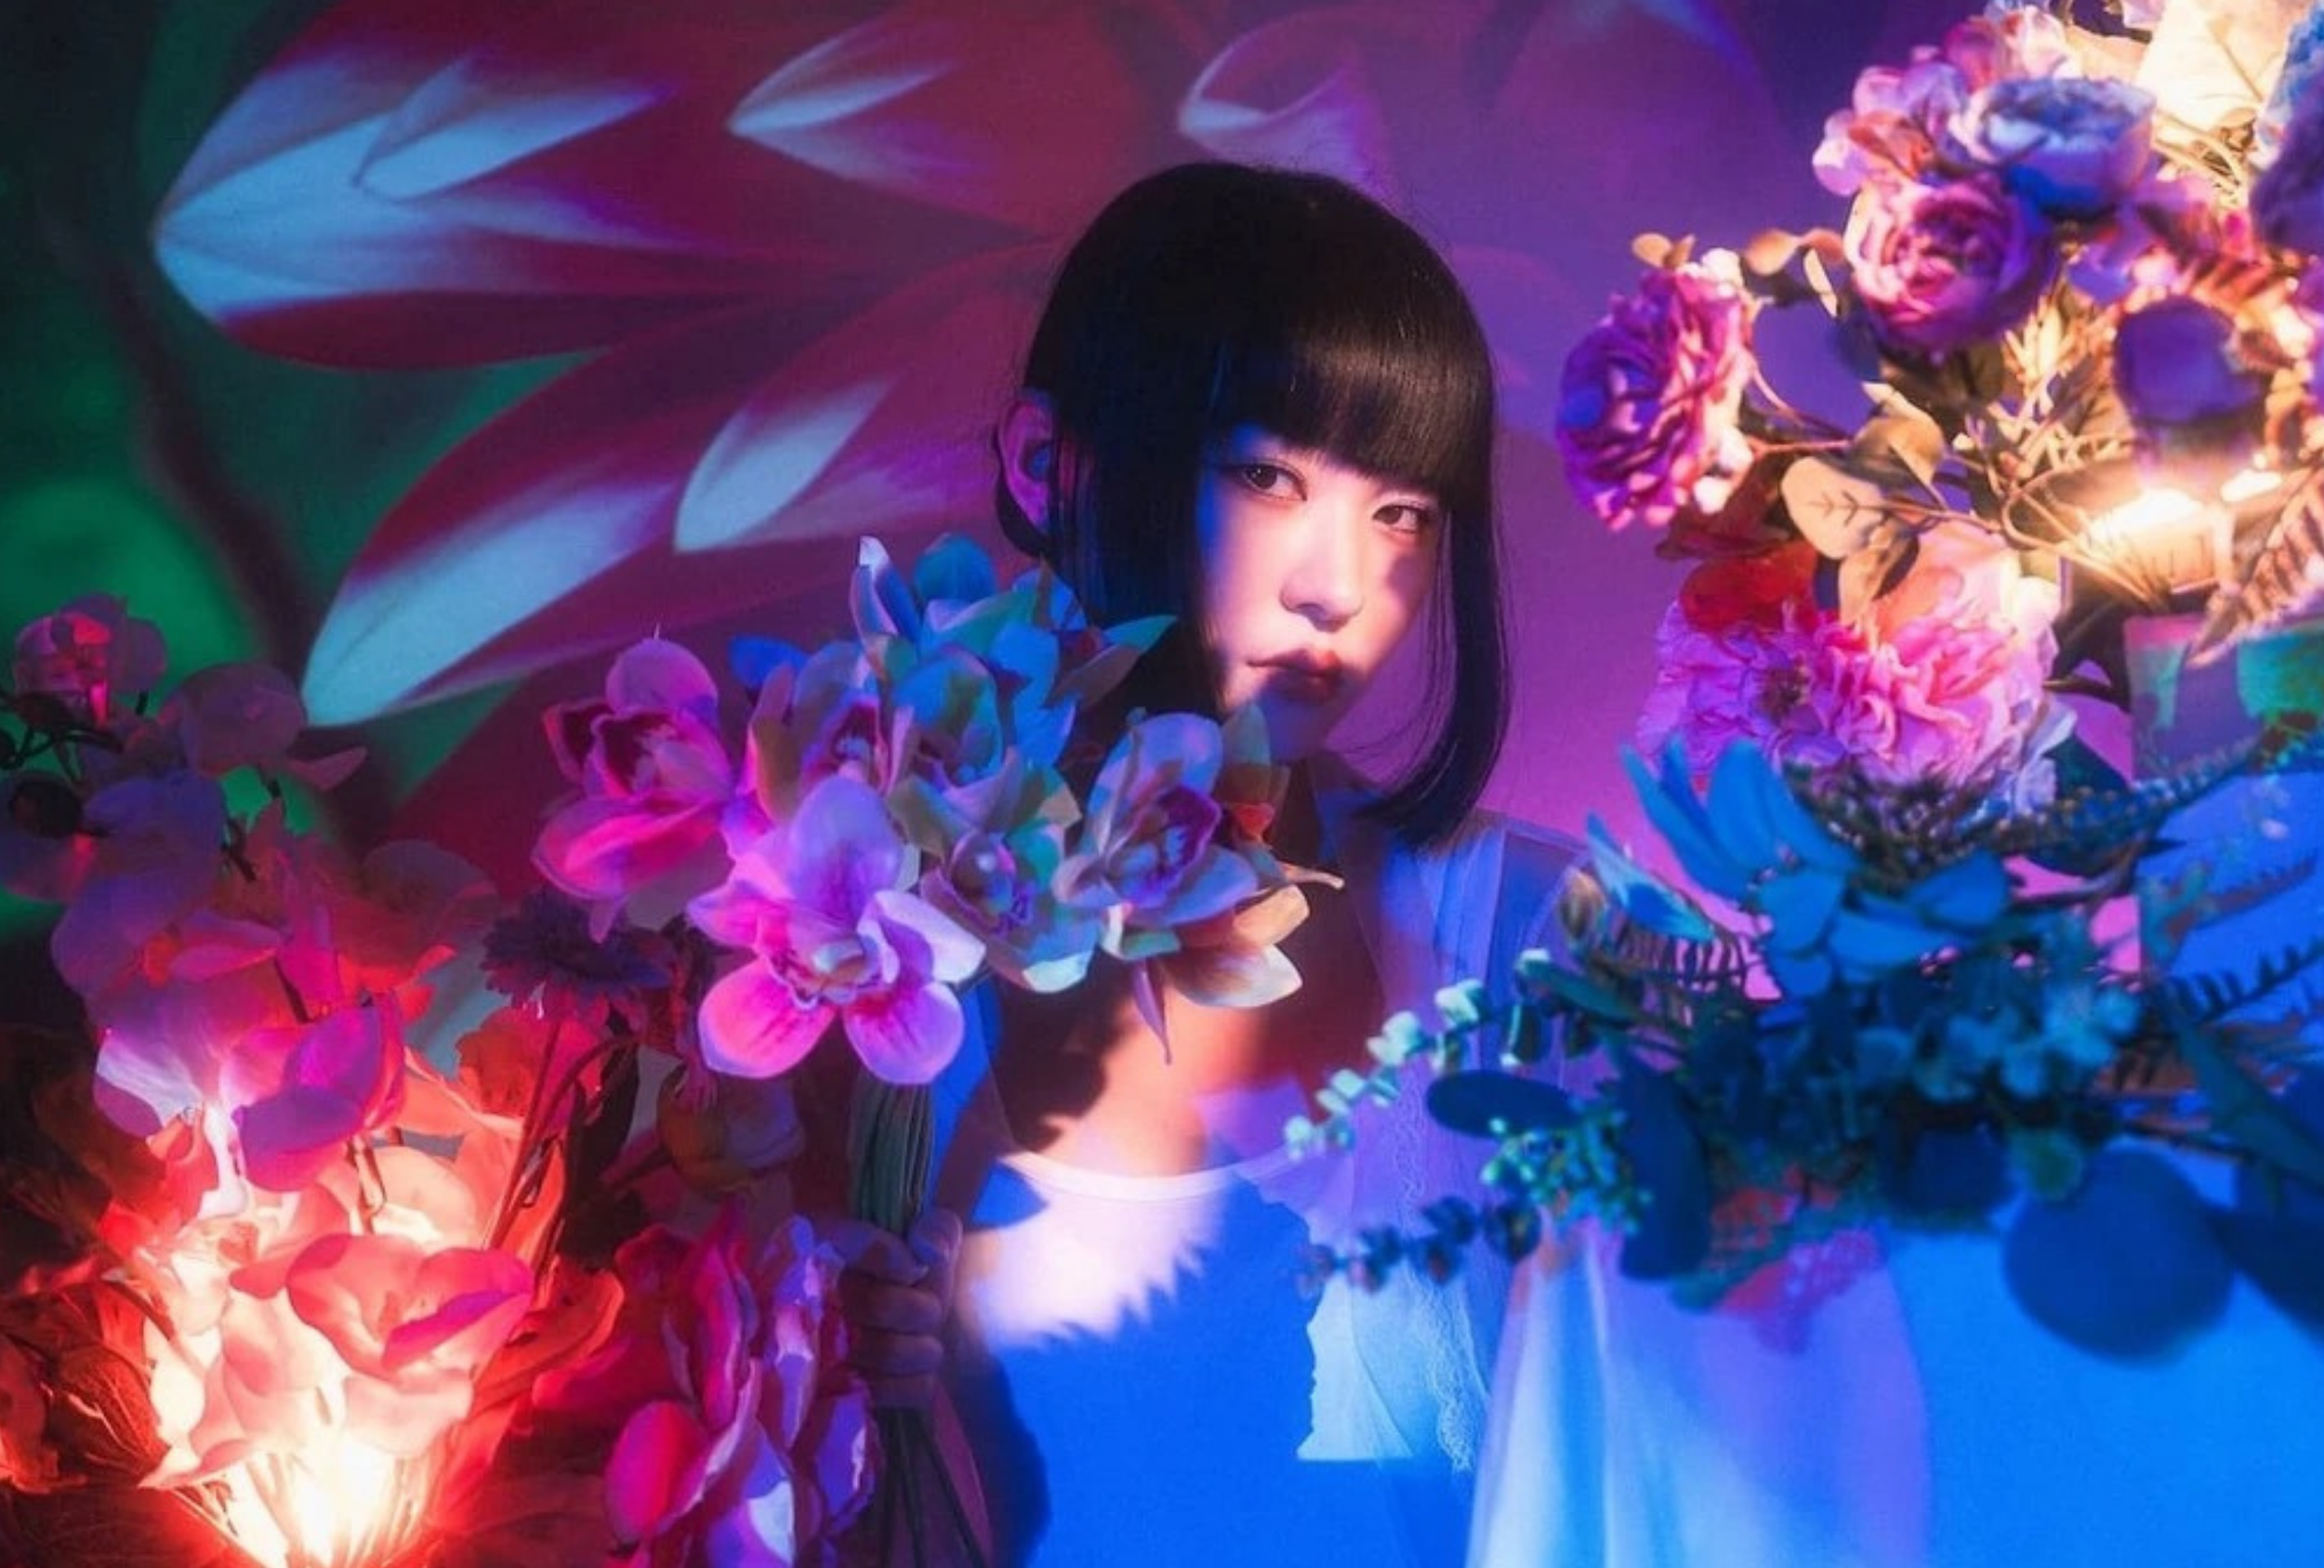
Projector photography doesn't require an expensive commercial studio. With a home projector, a simple backdrop, and a bit of creativity, you can create portraits that look completely different from traditional studio photography. Hopefully these ideas inspire you to experiment with projection in your own work. And if you want to check out more creative portraits in studio please check out some more of my work here.
Thanks always for reading and I hope this can help you plan out your own projector portrait studio shoot in the future!
d.