
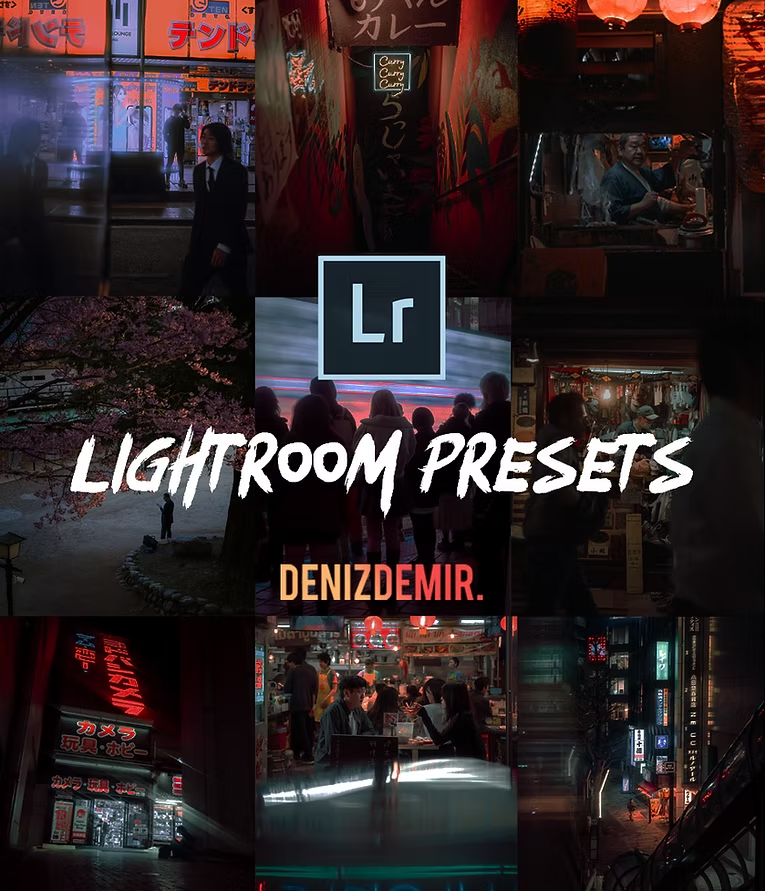
LIGHTROOM PRESETS
Want to speed up your editing workflow while achieving a pro level finish to your photos?
Color grading is an important part of my work and should be of yours too. I've spent hundreds of hours perfecting and tweaking and now you don't have to.
My exclusive Adobe Lightroom preset collections will get you there with a collection of eye-catching, cinematic style with a variety of looks and options. Works well and tested with all camera brands and various Lightroom versions.

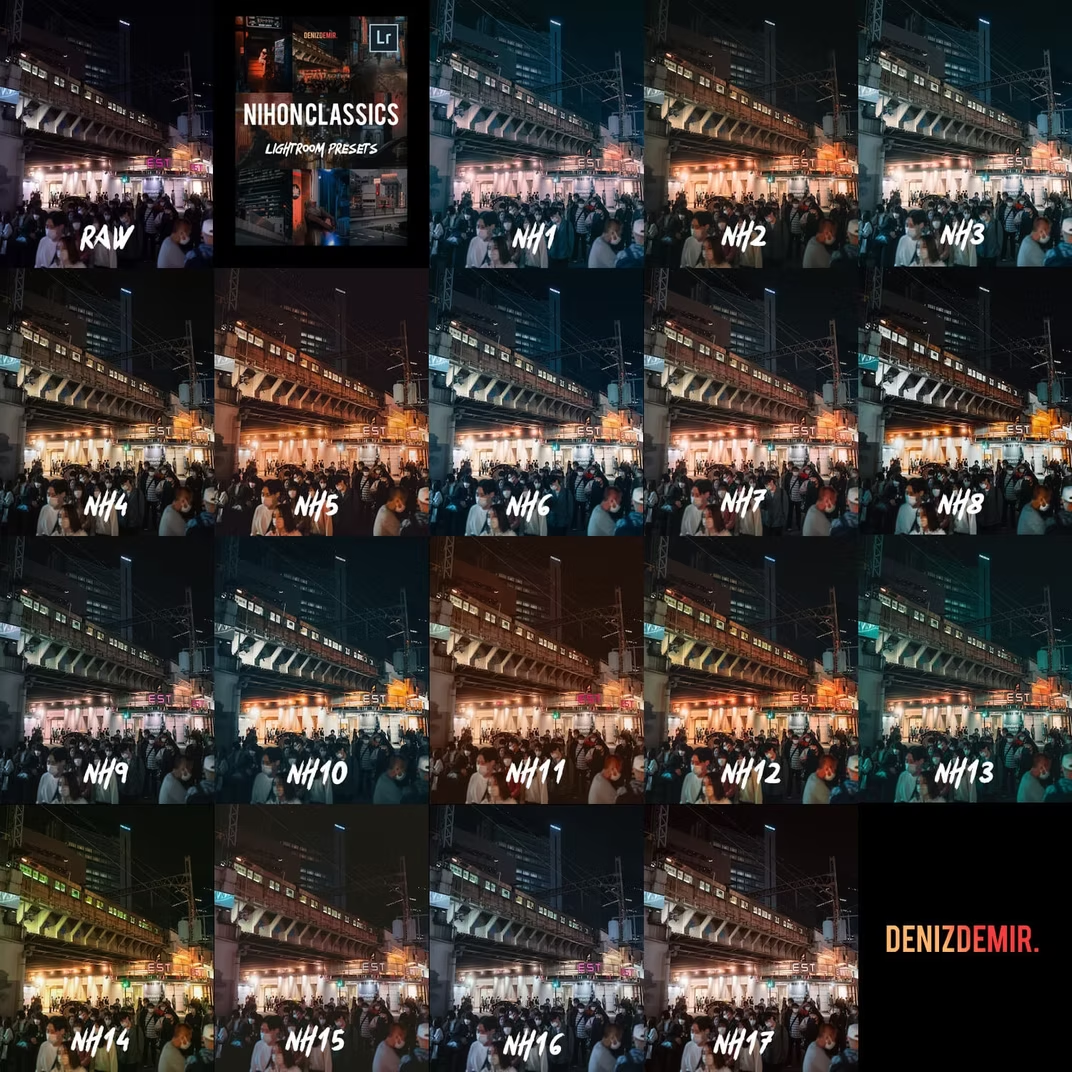
NIHON NIGHTS
Newly Released Including 18 Presets + 2 bonus
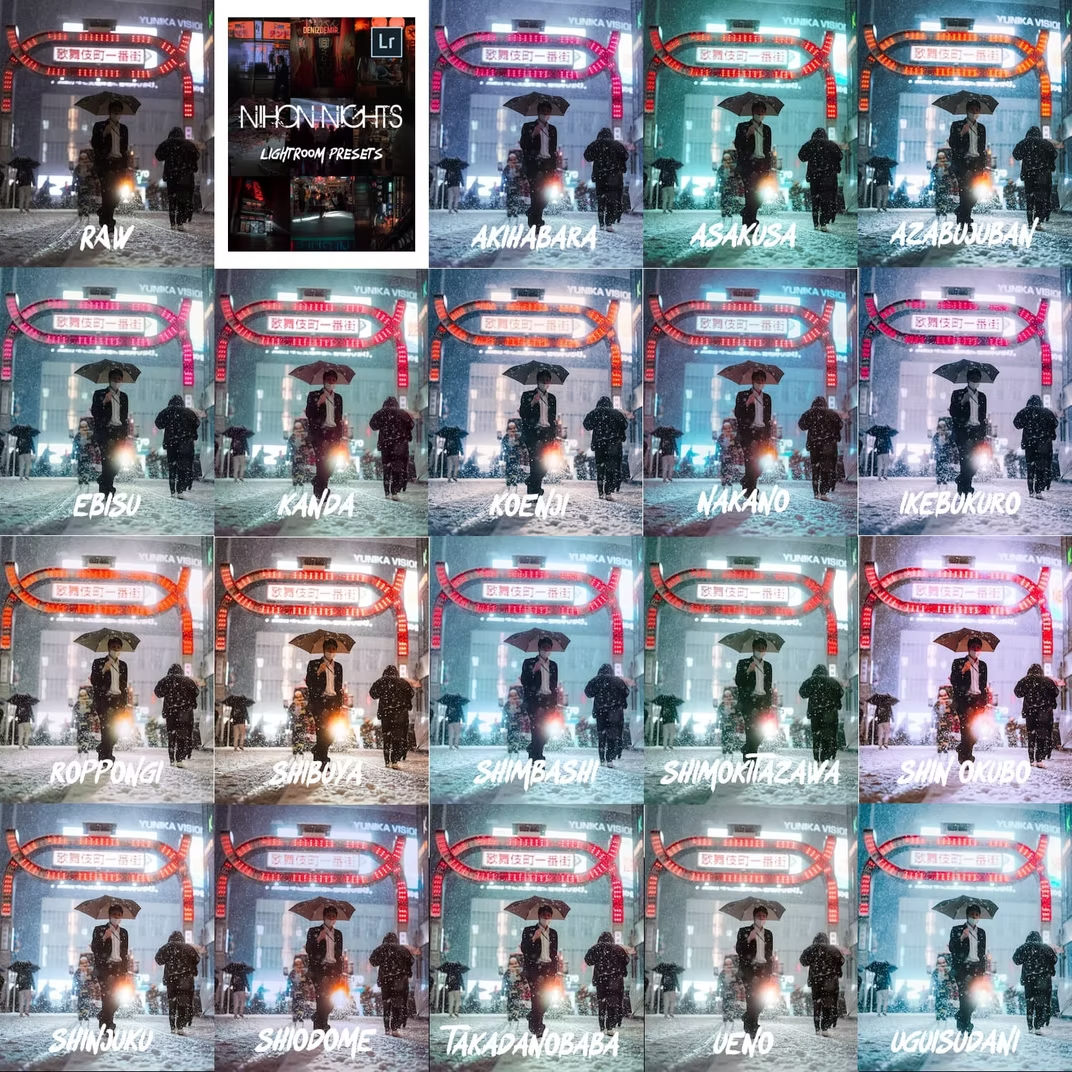
Nihon Nights is my updated collection of 18 of my revamped street presets! Professionally and meticulously put together to achieve a signature cinematic style. I use these mostly for my night street photography and cityscape but can also be used for daytime with a little white balance tweaking and are a huge timesaver in my editing workflow. And now I'm making them available to you all.
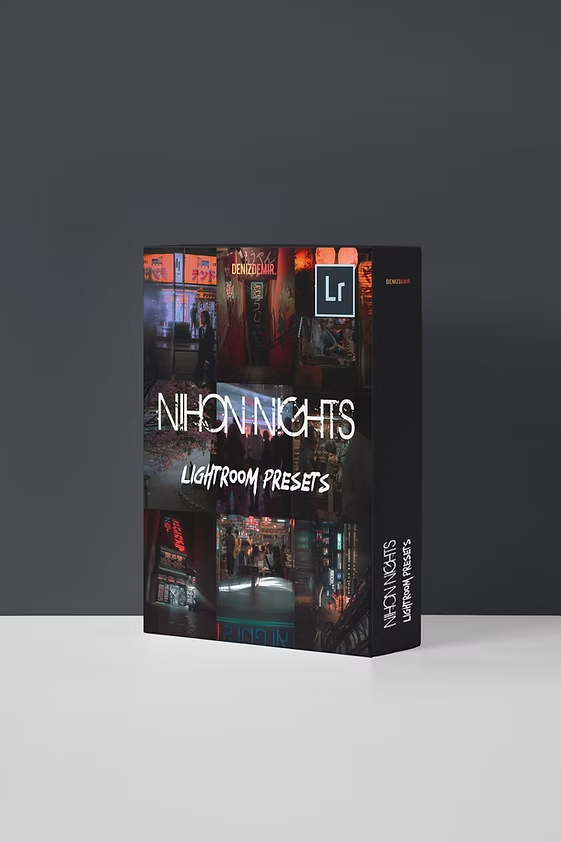
Paying homage to some of Tokyos
most infamous train stations....
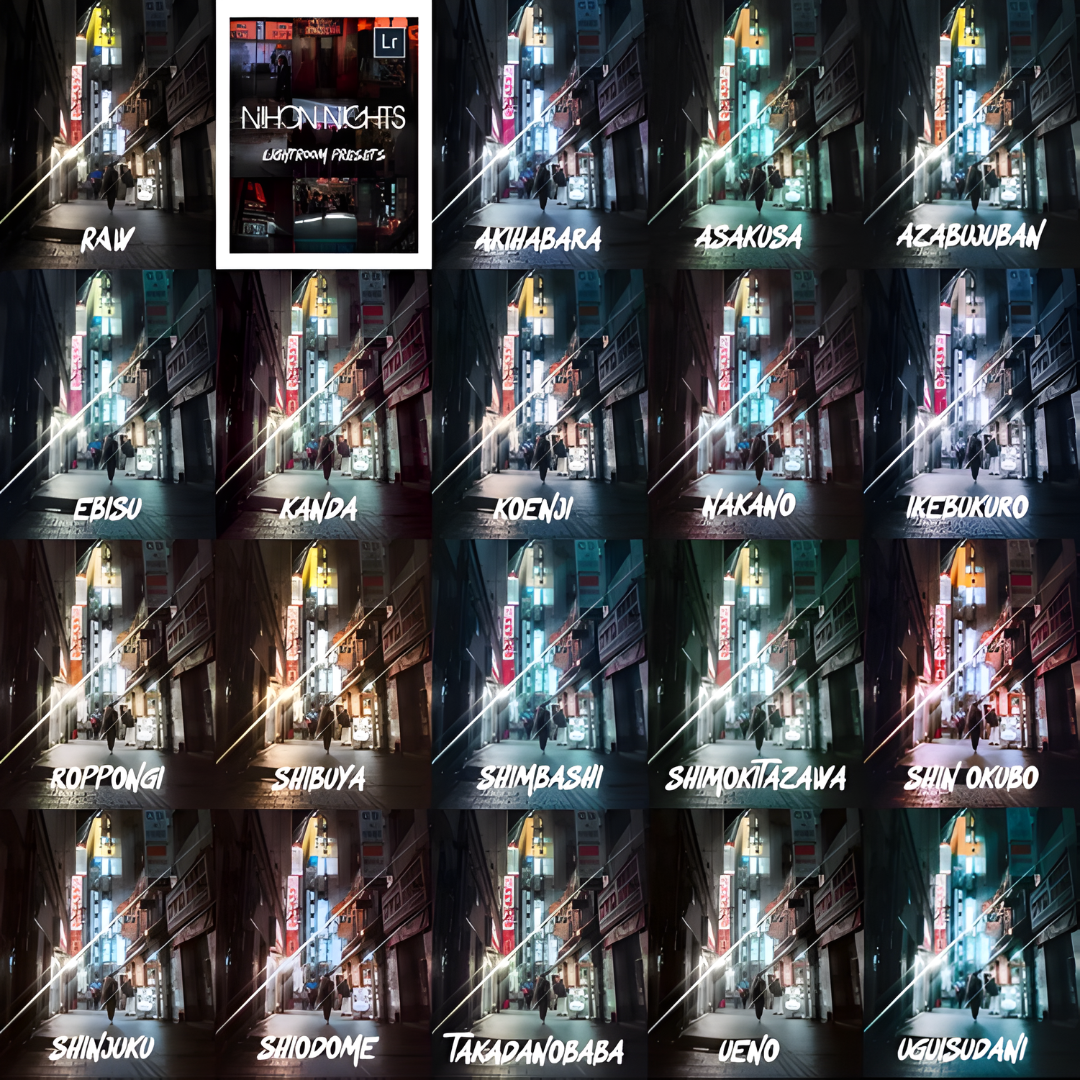

1 8 P R E S e E T S
2 0 T O N E C U R V E S
B L O O M O N / O F F
3 G R A I N ON / O F F
There are plenty of options included to
customize the presets to your liking
including:
- 20 different Tone Curves (with and without
RGB adjustments)
- Bloom On and Off to give a halation effect
and boost those highlight
- 3 types of Film Grain On and Off to give
the option of giving your photos a little
more grunge and filmic look
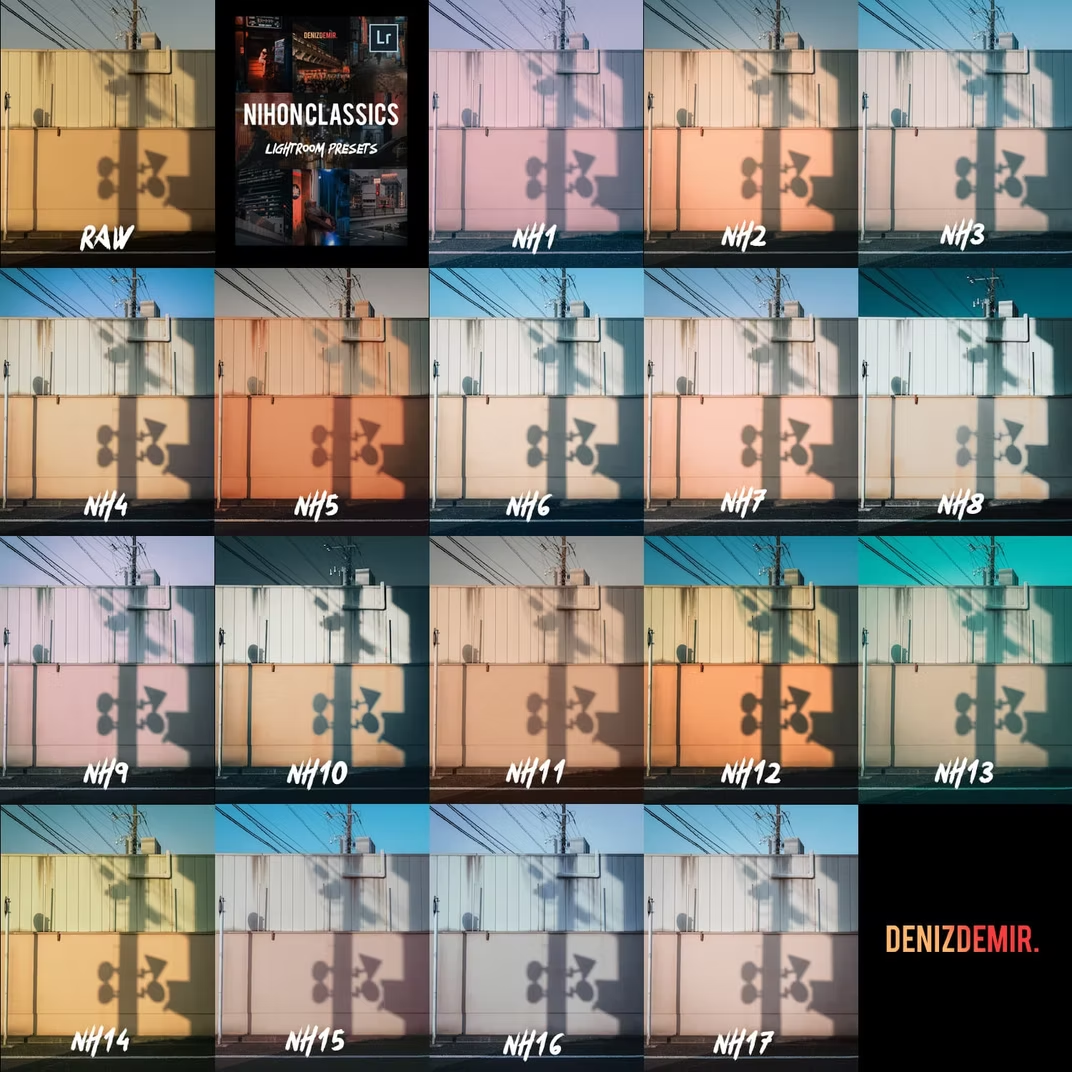
NIHON CLASSICS
My Original Set of Street Classics
Nihon Classics is a collection of 17 of some of my favorite and original street presets, professionally and meticulously put together to achieve a signature style. I use these frequently for both day and night street photography and cityscape and are a huge timesaver in my editing workflow.
See them in action below!
Including Grain On / Off.

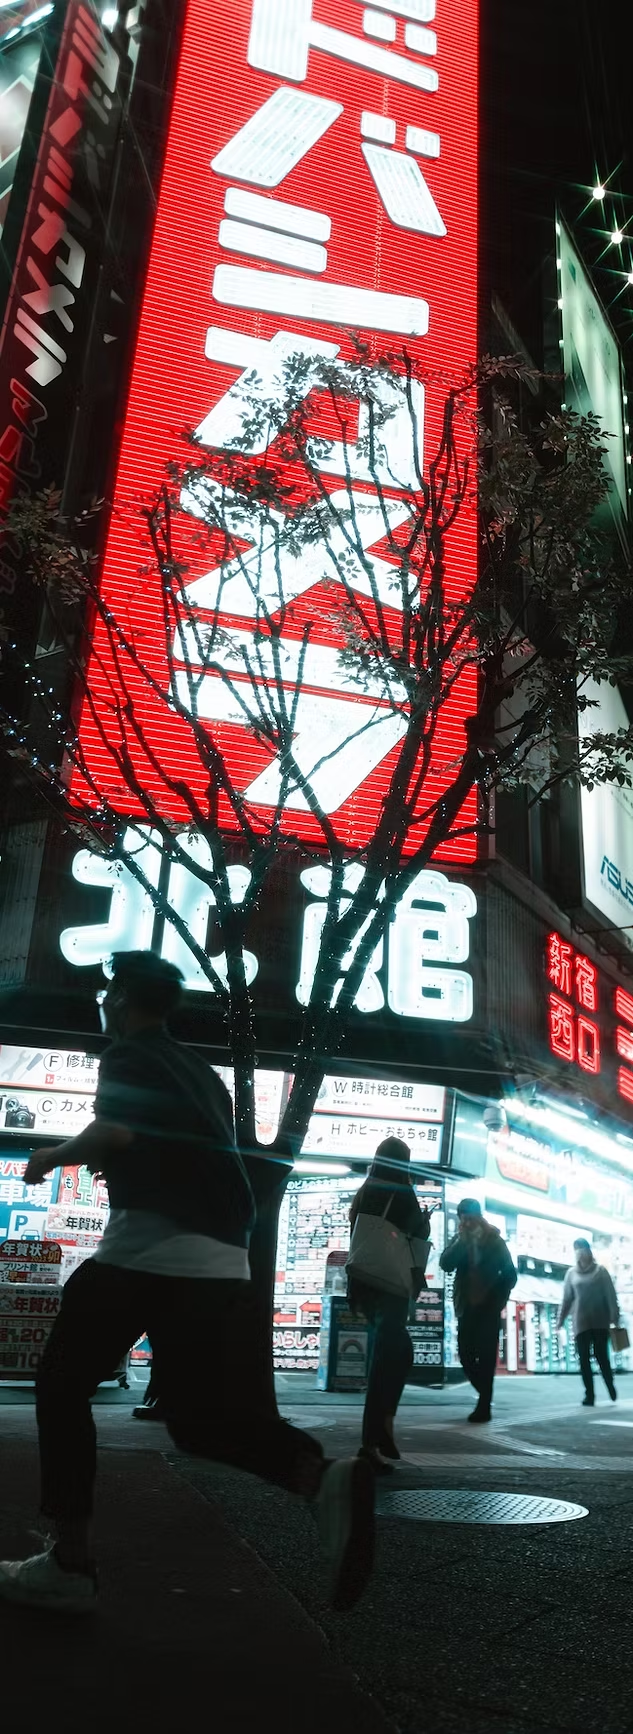
BEFORE / AFTER

How To Use
Notes about using Presets
01
Basic Adjustments
Please remember that all Presets are only a starting point. Some presets work well with some photos and some do not depending on existing colors and lighting in the original photo. Don’t be afraid to tweak each preset to your liking including:
White Balance
Exposure
Highlights, Shadows, Whites, Blacks
Vibrance / Saturation
Color Mixer
Color Grading
Calibration
02
Tone Curves
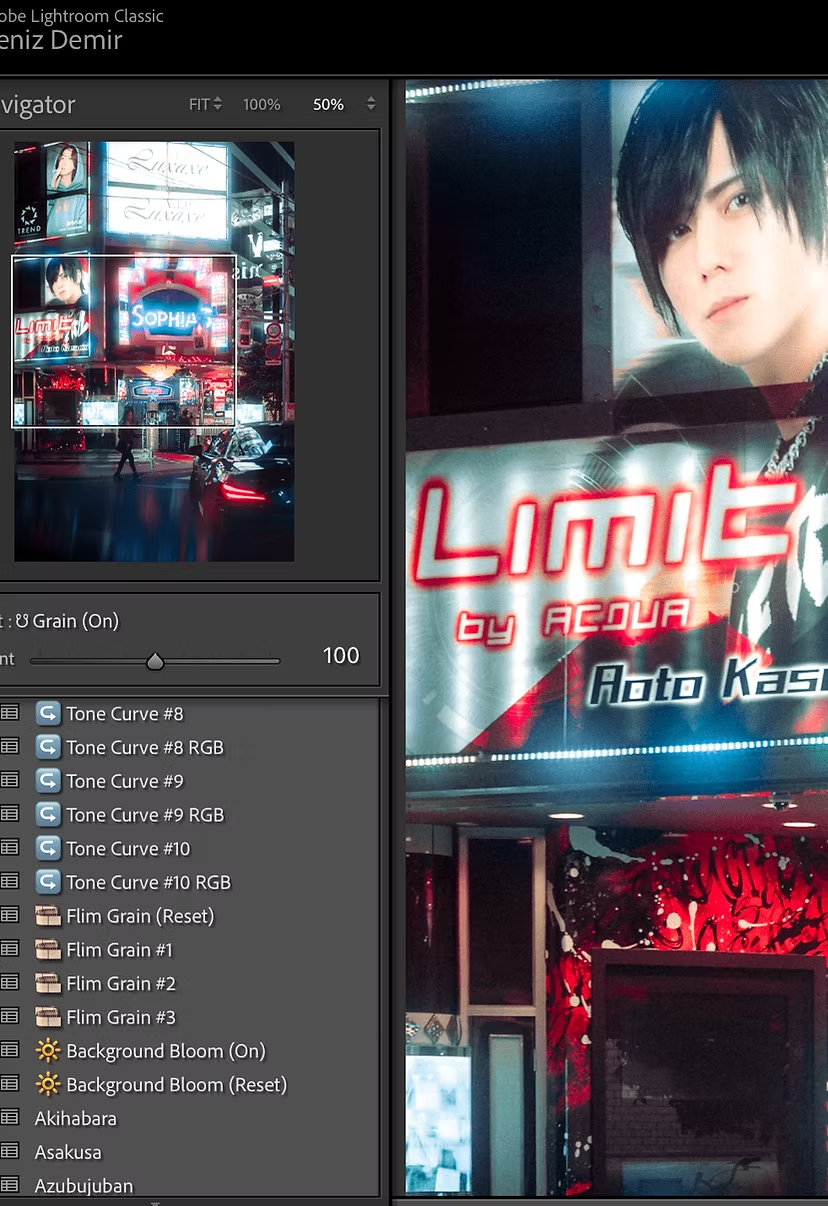
The Tone Curves are some of the most powerful editing features in Lightroom which is why I’ve included 20 separate curve adjustments in this pack giving you a multitude of editing options!
These presets fully utilize not only the main Tone Curve but also the separate RGB curves as well that help give each preset their own signature style.
I’ve created 10 different main Point Curves with and without RGB adjustments so once you’ve selected a preset you like you can further tweak the look using these variations.
03
Film Grain
There are 3 different film grains included with a reset option.
Flim Grain #1 - fine grain
Film Grain #2 - medium grain
Film Grain #3 - medium grain (size and amount boost)
04
Bloom
There is a Bloom On and Off preset which gives a halation style effect to really pop those highlights with a boosted hazy effect. The initial setting is set to 100 which might be too strong for your liking so in that case please adjust the amount with the slider in the MASKS section. In the case the effect does not work on your particular image you can add a radial or linear gradient across your image.
How to install presets in Lightroom
Click the version of Lightroom you are using below for instructions
LIGHTROOM CLASSIC 7.3
LIGHTROOM 4,5,6 or olde
LIGHTROOM (CC) DESKTOP CLOUD-BASED VERSION
If you still have any issues at all, reach out to me directlyhi@denizdemir.photosor on IG @denizdemir.photos
LIGHTROOM CLASSIC 7.3+
Step 1: Download your Lightroom Presets. The presets will come in a .zip file.
Step 2: Navigate to the Develop Module in Lightroom and click on File>Import Develop Profiles and Presets (see image below).
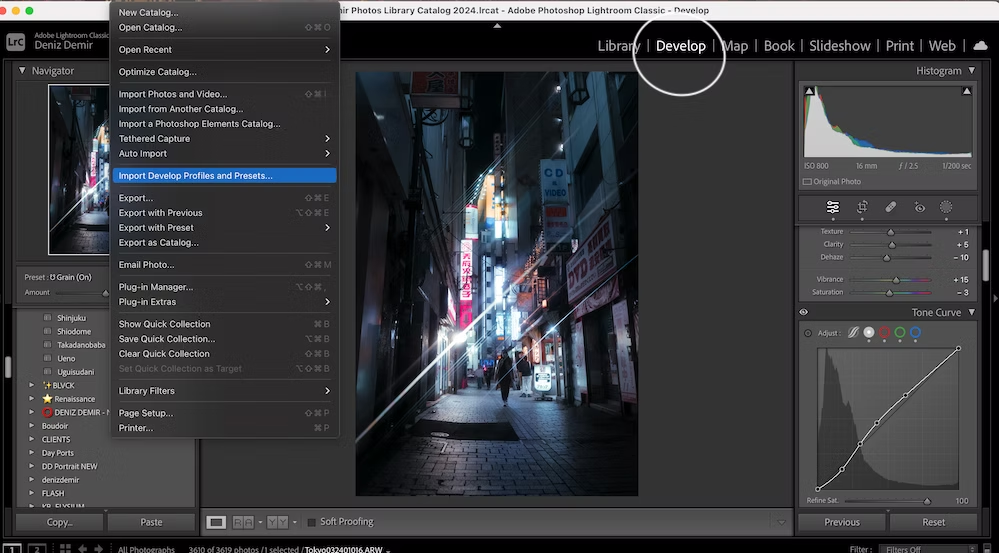
Step 3: Locate the downloaded zipped preset file or the folder with unzipped XMP files.
Step 4: Open Presets Panel, expand presets folder, and click a preset to apply it.
DOESN'T WORK? TRY ANOTHER METHOD
Launch Lightroom Classic, click the small "+" on the Presets Panel, and select "Import Presets." Locate the downloaded zipped preset file, and the presets will install automatically!
Ensure you are in the Develop mode to view the Presets tab.
LIGHTROOM CLASSIC 4,5,6 (.LRTEMPLATE Files)?
Step 1: Download your presets for Lightroom. The presets will arrive in a zip file, so you will need to unzip them and extract the files.
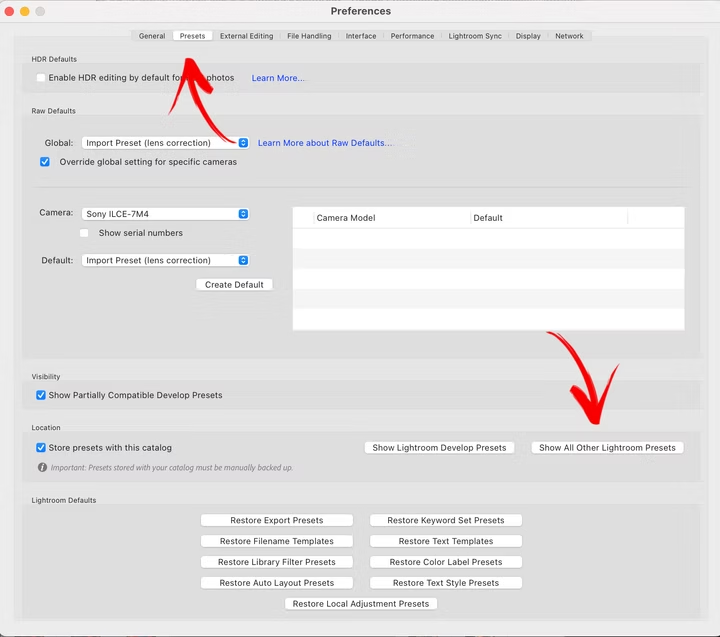
Step 2: On a Mac, open Preferences in Lightroom. On Windows, open Edit then Preferences.
Step 3: Choose the Presets tab within the Preferences dialog box, and then:
For older versions of Lightroom, click on "Show Lightroom Presets Folder."
If you're using a more recent version of Lightroom Classic, click on the "Show All Other Lightroom Presets" box.
Step 4: For an OLD Version of Lightroom - Click on Lightroom Folder and then, Open the "Develop Presets" folder.
For a NEW Version of Lightroom - Just Click on the Settings Folder.
Step 5: Copy the unzipped folder located in your downloads and paste it into the "Develop Presets" folder.
Step 6: For the final step, restart Lightroom, and you'll discover your presets in the Develop Module, listed under the Presets section.
LIGHTROOM CC CLOUD BASED VERSION
1. Download Lightroom Presets (.zip file) from the link sent to you after purchase
2. Open Lightroom CC and select an image
3. Choose File > Import Profiles and Presets.
4. Locate the zipped preset file or unzipped XMP files folder.
5. Done! Open Presets Panel, expand the folder, and click a preset to apply.
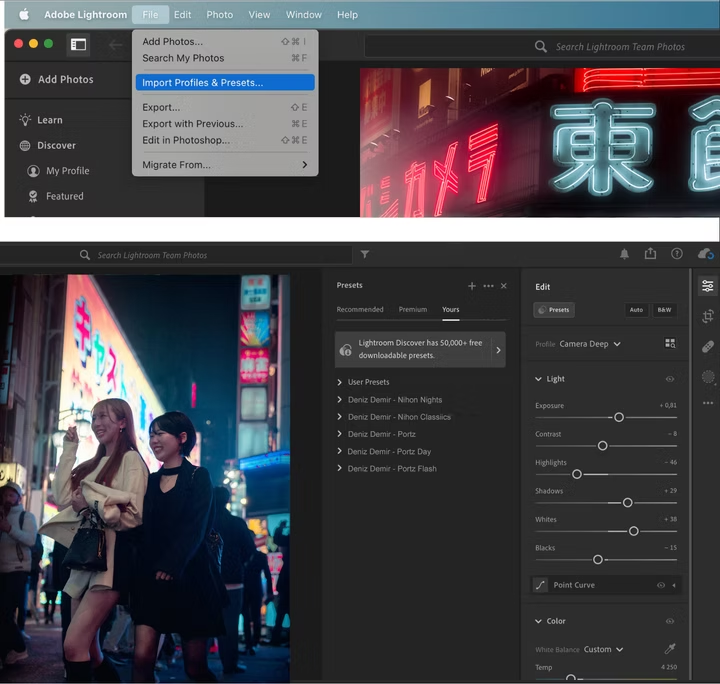
ANOTHER METHOD
Select your image and choose the edit option (or press 'E' on your keyboard).
Click on "Presets." Click on the ellipsis (...) and choose "Import Presets."
Import your presets, and you're good to go!